

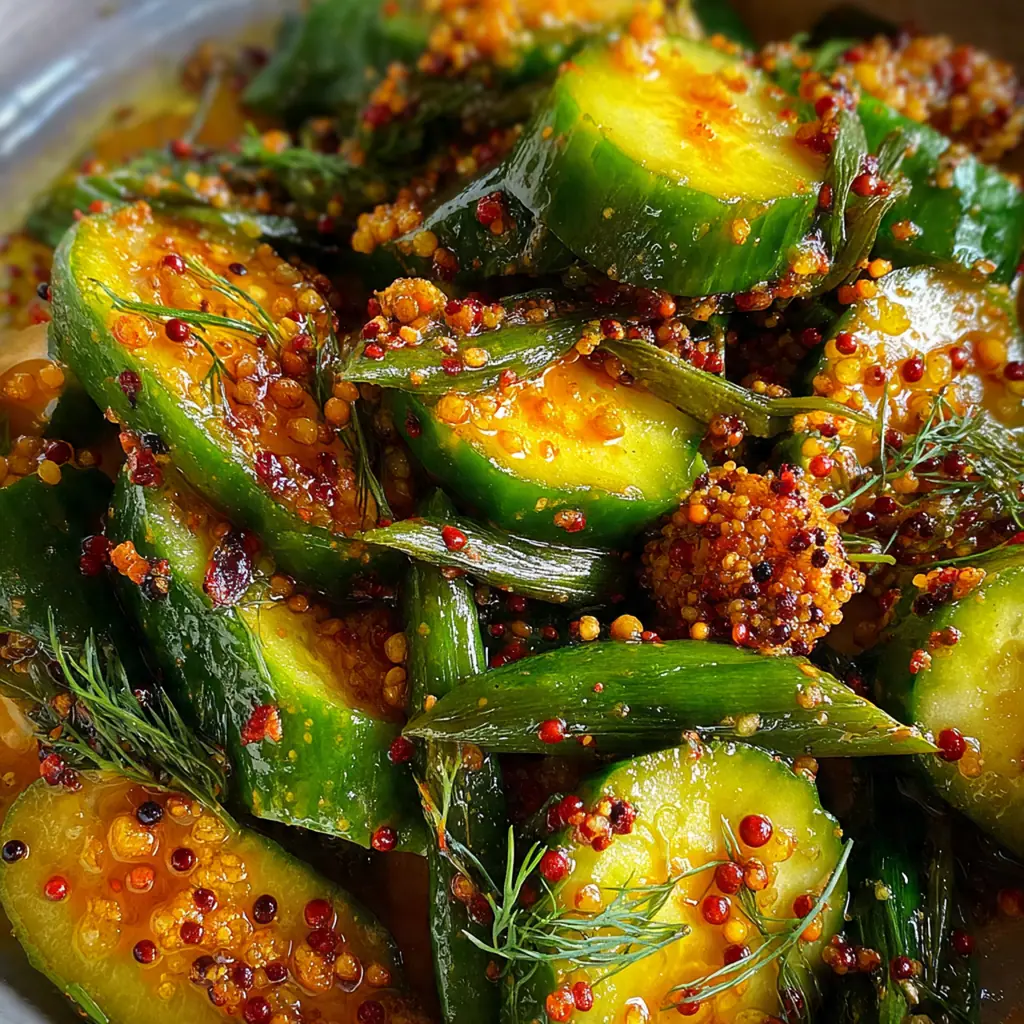
You just can’t beat the sweet, tangy crunch of a classic Bread Butter Pickle, especially when it’s homemade and ready in about an hour. This recipe brings back the authentic taste I remember from my grandmother’s kitchen, capturing that old-fashioned American deli flavor with zero fuss. It’s all about simple pantry staples and a straightforward method that skips the complicated canning process. You’ll get jars full of crisp, vibrant pickles that are perfect for elevating any sandwich or snacking straight from the fridge.
Why You'll Love This Recipe
- They deliver that perfect sweet-and-sour balance in every single crunchy bite
- You only need basic ingredients you probably already have on hand
- No special canning knowledge or equipment is required to make them
- It’s my favorite edible gift because everyone always asks for the recipe
Ingredients You’ll Need
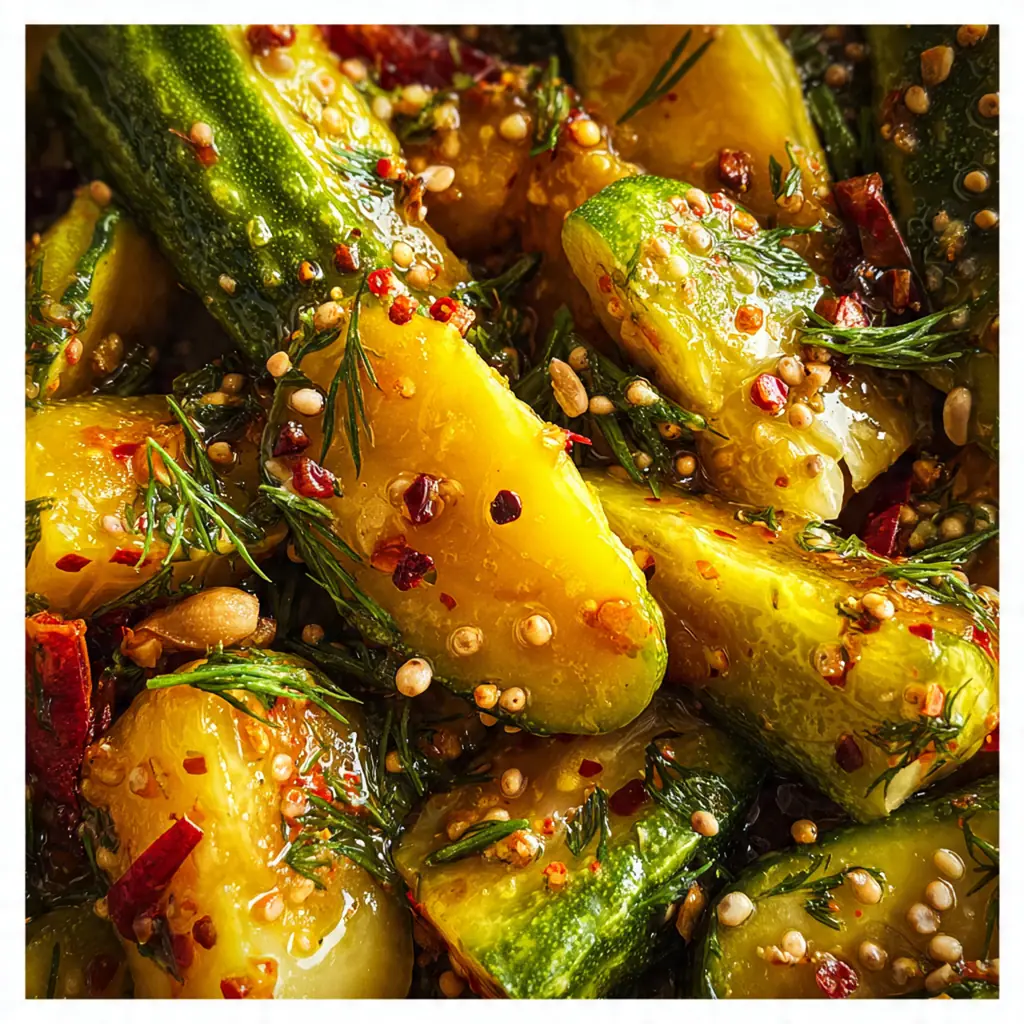
- Pickling cucumbers: Specifically Kirby cucumbers for their crisp texture and small seeds that hold up perfectly to pickling without turning mushy like salad cucumbers.
- White onion: Thinly sliced to add a sharp, sweet backbone that mellows beautifully in the brine and complements the cucumbers.
- Kosher salt: Coarse salt draws out excess moisture from the veggies during the salting step which is the secret to keeping your final pickles super crunchy.
- Apple cider vinegar: Provides the essential tangy base for the brine with a fruity depth that white vinegar just can’t match.
- Granulated sugar: Creates the signature sweetness that balances the vinegar’s sharpness and gives bread butter pickles their classic character.
- Water: Dilutes the brine to the perfect strength so the flavors are bright and balanced, not overwhelmingly acidic.
- Mustard seeds: Add a subtle, earthy pungency and a gentle pop of texture that’s traditional in this style of pickle.
- Celery seeds: Impart a warm, savory note that’s distinctly old-fashioned and pairs wonderfully with the sweet and sour elements.
- Ground turmeric: Lends that iconic golden yellow color and a slightly peppery, earthy flavor that defines the pickle’s appearance.
- Black peppercorns: Offer a mild heat and aromatic complexity that rounds out the spice profile in the brine.
- Garlic: Thinly sliced cloves infuse the brine with a mellow, savory aroma that deepens as the pickles sit.
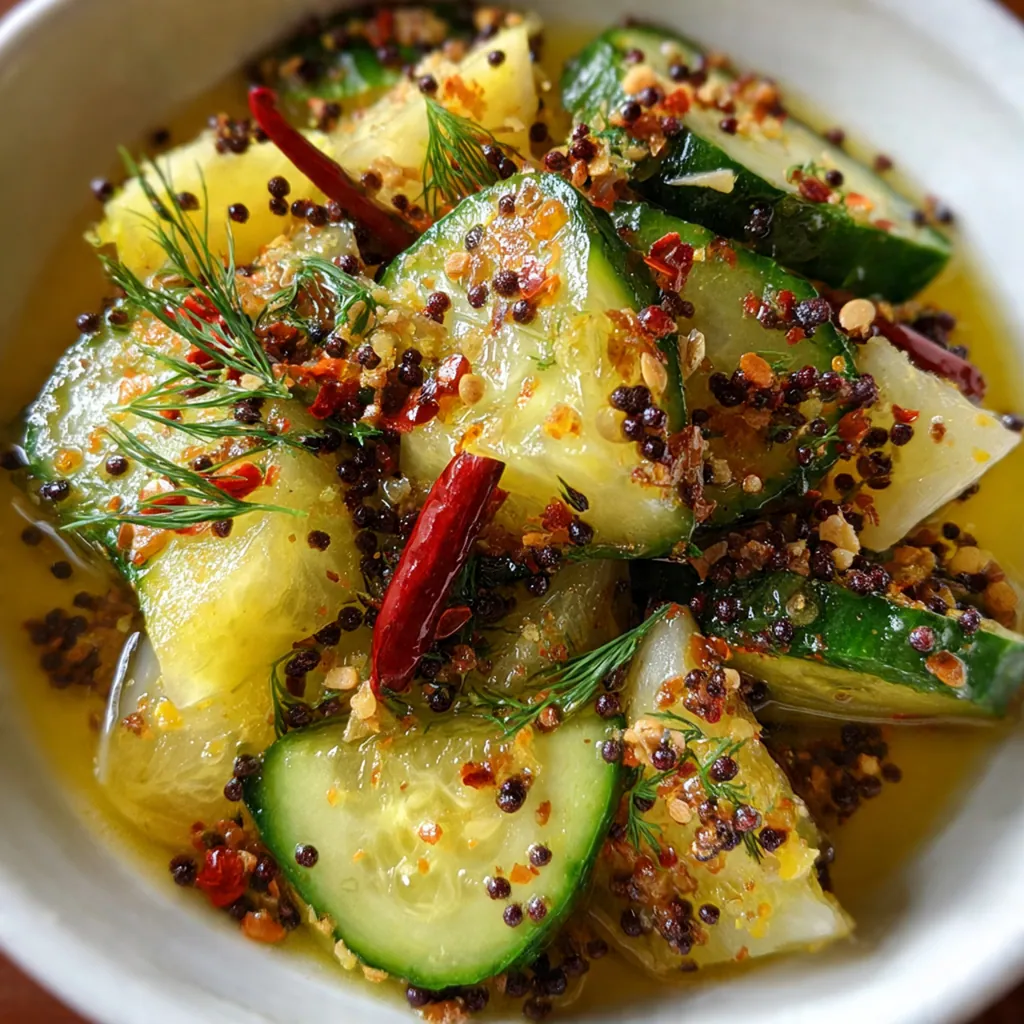
- Red pepper flakes: An optional add-in for those who love a gentle, warming kick in their sweet pickles.
- Fresh dill sprigs: Used as a garnish for a bright, herby finish that makes your jars look extra special.
How to Make It
Salt the Vegetables:
Toss your sliced cucumbers and onions with the kosher salt in a large bowl until everything is evenly coated. Let this mixture sit at room temperature for a full hour. This crucial step pulls out excess water from the veggies, which is what guarantees your bread butter pickles stay crisp instead of turning soggy later on.
Rinse and Drain:
After the hour is up, dump the salted veggies into a colander and give them a really good rinse under cold running water. You want to wash away all that surface salt. Then, use your hands or the back of a spoon to gently press down and squeeze out any lingering liquid. This leaves you with perfectly prepped, dry-ish vegetables ready for the brine.
Create the Brine:
Combine the apple cider vinegar, sugar, water, mustard seeds, celery seeds, turmeric, peppercorns, and sliced garlic in your large pot. Give it a good stir to start dissolving the sugar. You’re building the flavor foundation here, and simmering will wake up all those spices.
Simmer the Brine:
Place the pot over medium-high heat and bring the mixture to a rolling boil. Once it’s bubbling, reduce the heat to low and let it simmer gently for about five minutes. Stir it occasionally until you’re sure all the sugar has dissolved and your kitchen smells amazing from the blooming spices.
Combine and Cook:
Carefully add your drained cucumber and onion mixture to the hot brine. Bring everything back up to a simmer and let it cook for five more minutes. You’ll see the cucumbers turn a brilliant yellow from the turmeric and become slightly translucent around the edges, which means they’re perfectly infused and ready to jar.
Pack the Jars:
Using a slotted spoon, tightly pack the hot pickles and onions into your clean, sterilized pint jars. Leave about half an inch of space at the top. This headspace is important to ensure the brine can fully cover everything when you pour it in.
Add the Brine:
Pour the hot brine from the pot over the pickles in each jar, making sure all the pieces are completely submerged. Gently tap each jar on your countertop to help release any trapped air bubbles that could cause spoilage.
Cool and Refrigerate:
Let the jars cool down completely on the counter until they reach room temperature. Once they’re cool, screw on the lids and transfer them to the refrigerator. For the best flavor, you’ve got to be patient and let them chill for at least 24 hours before you dig in.
You Must Know
- The salting step is non-negotiable for ultimate crunch
- Pickling cucumbers are a must for texture, regular ones get soft
- Sterilizing your jars is key for safe, long-lasting pickles
- The flavor gets even better after a few days in the fridge
- My family polishes off a jar in one sitting
Storage Tips
Once they’re cooled, your bread butter pickles will keep beautifully in the refrigerator for up to three months as long as they’re fully submerged in brine in a sealed jar. For pantry storage that lasts up to a year, you can process the sealed jars in a boiling water bath for about ten minutes after filling them while everything is still piping hot. I always make a double batch just for this purpose – there’s nothing like having a shelf of homemade pickles ready to go for gifts or a craving.
Ingredient Substitutions
If you can’t find pickling cucumbers, the best alternative is Persian cucumbers, but you’ll want to reduce the simmering time by a minute or two since they’re more delicate. White vinegar can stand in for apple cider vinegar in a pinch, though you’ll miss that fruity nuance. For a less refined sweetener, light brown sugar adds a nice caramel note, and if you’re out of celery seeds, a pinch of celery salt works, but just remember to reduce the added salt elsewhere in the recipe. Want more heat? Swap the red pepper flakes for a couple of thin slices of fresh jalapeño added right to the jar.
Serving Suggestions
These pickles are the ultimate sandwich companion, piled high on a classic deli Reuben or a simple grilled cheese. I love chopping a few and stirring them into potato or macaroni salad for a tangy punch, or arranging them on a cheeseboard with sharp cheddar and salami. Don’t overlook them as a snack straight from the jar with some crackers, or finely diced as a relish for hot dogs and burgers – they cut through rich, fatty foods perfectly.
Cultural Context
Bread and butter pickles are a uniquely American invention, born out of necessity during the Great Depression when home cooks needed to preserve their summer garden bounty with cheap, sweet vinegar brines. The name itself is said to come from the pairing that kept many farming families fed: these sweet pickles sandwiched between slices of bread slathered with butter. Their sweet-and-sour profile, distinct from dill pickles, became a staple of Midwestern and Southern pantries, a taste of sunshiny summer preserved for the colder months. Making them today connects you to that tradition of simple, resourceful cooking that turns humble vegetables into something truly special.
Pro Tips
- Always slice your cucumbers to a consistent thickness for even pickling
- Let the jars cool completely before refrigerating to avoid condensation
- Add fresh dill directly to the jar for a brighter, garden-fresh flavor
- The brine can be reused for quick-pickling onions or carrots
- I think they taste best after a full week in the fridge
Frequently Asked Questions
For the crispiest Bread Butter Pickles, use pickling cucumbers like Kirby cucumbers. They are smaller, firmer, and have fewer seeds than regular salad cucumbers, which helps them hold their shape and crunch perfectly during the pickling process.
Absolutely! In fact, these homemade pickles need at least 24 hours in the refrigerator for the flavors to fully develop and meld. They’ll keep perfectly in an airtight jar in the fridge for up to 3-4 weeks.
White distilled vinegar is an excellent substitute for apple cider vinegar in these Bread Butter Pickles. It will give you a slightly sharper, cleaner tang. Avoid balsamic or red wine vinegar as their colors and stronger flavors will alter the final product.
The pickles are ready to jar after you’ve poured the hot vinegar syrup over the drained cucumbers and onions. However, they’re best after a full 24 hours in the fridge, when the cucumbers have fully absorbed the sweet and tangy flavors and the brine has cooled completely.
These classic American Bread Butter Pickles are incredibly versatile. Serve them piled high on burgers, sandwiches (especially grilled cheese!), and hot dogs. They also make a fantastic tangy side for barbecue plates, charcuterie boards, or eaten straight from the jar as a snack.