

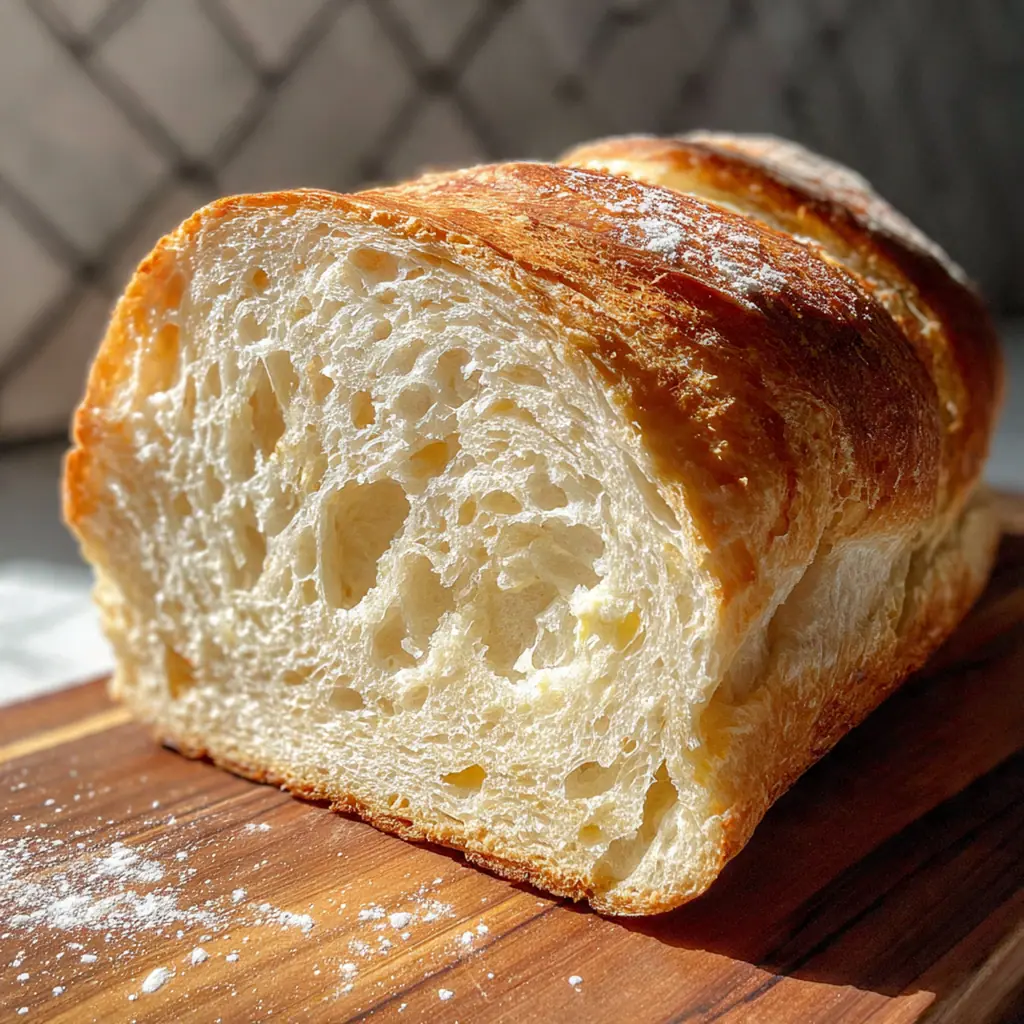
Nothing beats the smell and taste of fresh, easy white bread warm from your own oven. This staple of American home baking has been a comforting presence in kitchens for generations, turning simple pantry staples into a fluffy, versatile loaf. It’s a foundational skill that builds confidence and fills your home with an incredible aroma. Mastering this easy white bread recipe gives you complete control over what goes into your food and saves you a trip to the store.
Why You'll Love This Recipe
- You probably have all the ingredients in your pantry right now
- It requires zero fancy equipment, just your hands and a bowl
- The process is wonderfully therapeutic and the reward is incredible
- Your whole house smells like a bakery while it bakes
- I find the rhythm of kneading and rising incredibly grounding
Ingredients You’ll Need
- Warm water: Activates the yeast to get your bread rising use a thermometer to ensure it’s around 110°F, which is warm to the touch but not hot.
- Granulated sugar: Feeds the yeast for a good rise and adds a subtle sweetness that balances the salt in the final loaf.
- Active dry yeast: The living organism that makes your bread light and airy make sure your packet isn’t expired for the best results.
- Whole milk: Adds richness, tenderness, and a bit of fat for a softer crumb and a longer-lasting loaf.
- Unsalted butter: Contributes to a tender texture and a beautifully golden, flavorful crust melt it and let it cool slightly so it doesn’t scramble the yeast.
- Fine sea salt: Crucial for flavor development and controlling yeast activity fine grains dissolve more evenly than coarse salt in the dough.
- All-purpose flour: The backbone of your bread providing structure and gluten choose an unbleached variety for a slightly better flavor.
- Vegetable oil: Simply greases the bowl to prevent sticking during the first rise any neutral oil works perfectly here.
- Melted butter (optional): Brushing it on the hot loaf creates an irresistibly soft, buttery crust that everyone loves.
- Egg beaten with water (optional): An egg wash gives the loaf a professional, glossy, deep golden brown finish before baking.
How to Make It
Activate Your Yeast:
In a large bowl, combine the warm water, sugar, and yeast, giving it a gentle stir. Let this mixture sit undisturbed for 5 to 10 minutes. You’re looking for it to become frothy and bubbly, which is your sign that the yeast is alive and ready to work. This step is non-negotiable for a good rise.
Combine Wet Ingredients:
Pour the warm milk, slightly cooled melted butter, and salt into the yeast mixture. Stir everything together until it’s well combined. The salt might want to sink, so make sure you get it fully incorporated. You’re building the flavor base for your entire loaf right here.
Incorporate the Flour:
Start adding the all-purpose flour to the bowl, one cup at a time, and stir with a wooden spoon. After about three cups, the dough will become shaggy and difficult to stir. This is exactly what you want, and it’s your cue to move to the next step. Resist the urge to dump all the flour in at once.
Knead the Dough:
Turn the shaggy dough out onto a lightly floured surface. Knead it by hand for 8 to 10 minutes, adding only a little more flour if the dough is sticking excessively. You’ll know it’s ready when it’s smooth, elastic, and only slightly tacky to the touch. This kneading develops the gluten for that perfect bread structure.
First Rise:
Lightly grease a clean bowl with the vegetable oil. Place your kneaded dough in the bowl, turning it once to coat it all over in the oil. Cover the bowl with a damp kitchen towel or plastic wrap and let it rest in a warm, draft-free spot. In about an hour, it should double in size, which is a magical sight.
Shape the Loaf:
Gently punch down the dough to release the built-up air bubbles. Turn it out onto a floured surface again. To shape it, roll the dough into a rough rectangle, then roll it up tightly from one of the short ends, pinching the seam closed as you go. This creates the classic loaf shape.
Second Rise:
Place your shaped loaf seam-side down into a greased 9×5-inch loaf pan. Cover it again and let it rise for another 45 minutes to an hour. It’s ready when it has risen just above the rim of the pan. While it rises, preheat your oven to 375°F and prepare an egg wash if you’re using one.
Bake to Perfection:
If you opted for a shiny crust, brush the top of the risen loaf lightly with the egg wash. Bake for 30 to 35 minutes. Your bread is done when the top is a deep golden brown and the loaf sounds hollow when you carefully tap the bottom. That hollow sound is the ultimate sign of success.
Cool and Finish:
Take the loaf out of the oven and, if you like a soft crust, immediately brush the top with melted butter. Let the bread cool in the pan for just 10 minutes; this lets it firm up a bit. Then, transfer it to a wire rack to cool completely before you slice into it. I know the wait is hard, but it prevents a gummy texture.
You Must Know
- Warm, not hot, liquid is key to waking up the yeast
- A slightly tacky dough makes for a much softer loaf
- Letting it cool completely before slicing is non-negotiable
- The smell while baking is half the reward
- It freezes beautifully for months
Storage Tips
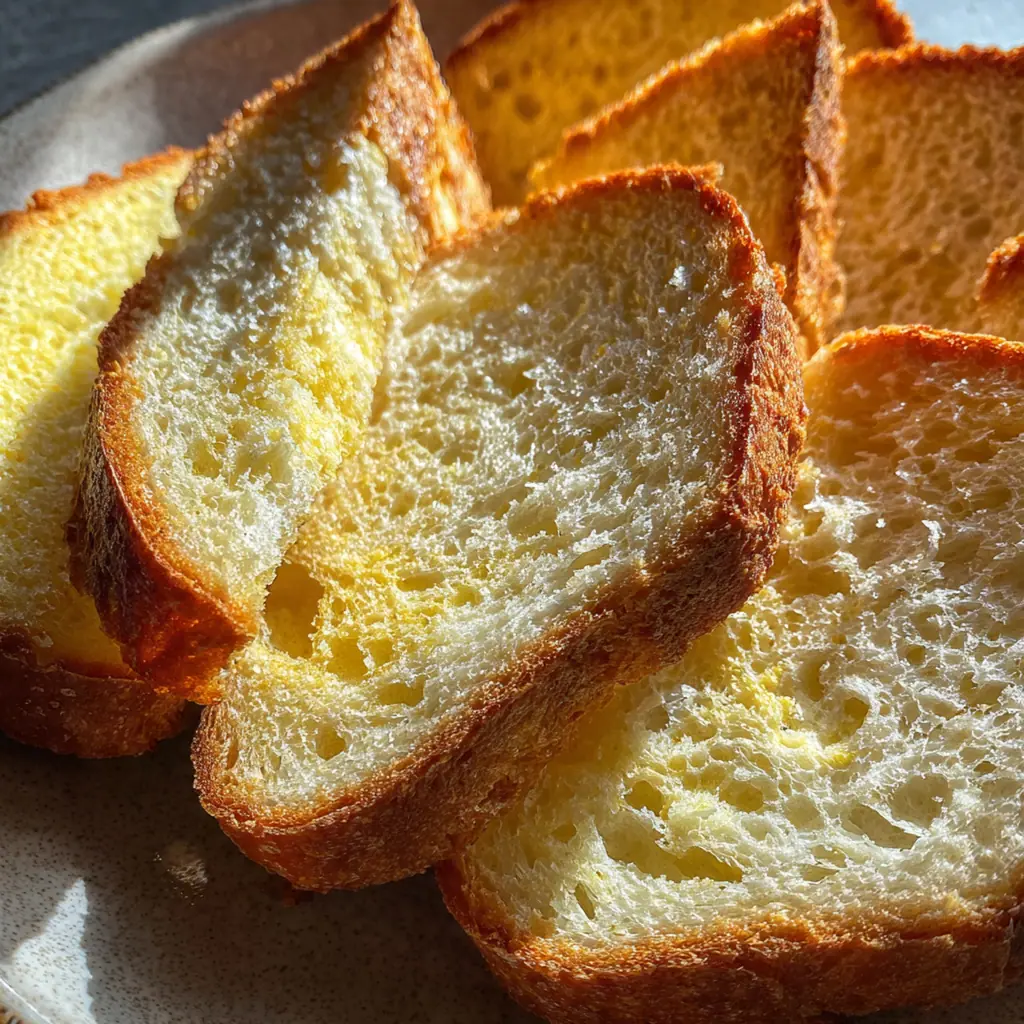
Once your easy white bread has cooled completely, store it in an airtight bag or container at room temperature for up to three days to keep it fresh. For longer storage, wrap the entire loaf or individual slices tightly in plastic wrap, then in foil, and freeze for up to three months. Thaw a frozen loaf overnight on the counter or pop a frozen slice straight into the toaster. I always keep a backup loaf in the freezer for last-minute soup nights or French toast cravings.
Ingredient Substitutions
If you don’t have whole milk, 2% or even skim milk works in a pinch, though the crumb might be a touch less rich. For a dairy-free version, swap the milk with an equal amount of warm water and use a neutral oil like canola or avocado oil instead of butter. Active dry yeast can be swapped for instant yeast; just add it directly to the dry flour and skip the initial frothing step. Bread flour is a great substitute for all-purpose if you want a chewier texture with more structure. In a real pinch, you can even use honey or maple syrup instead of granulated sugar to feed the yeast.
Serving Suggestions
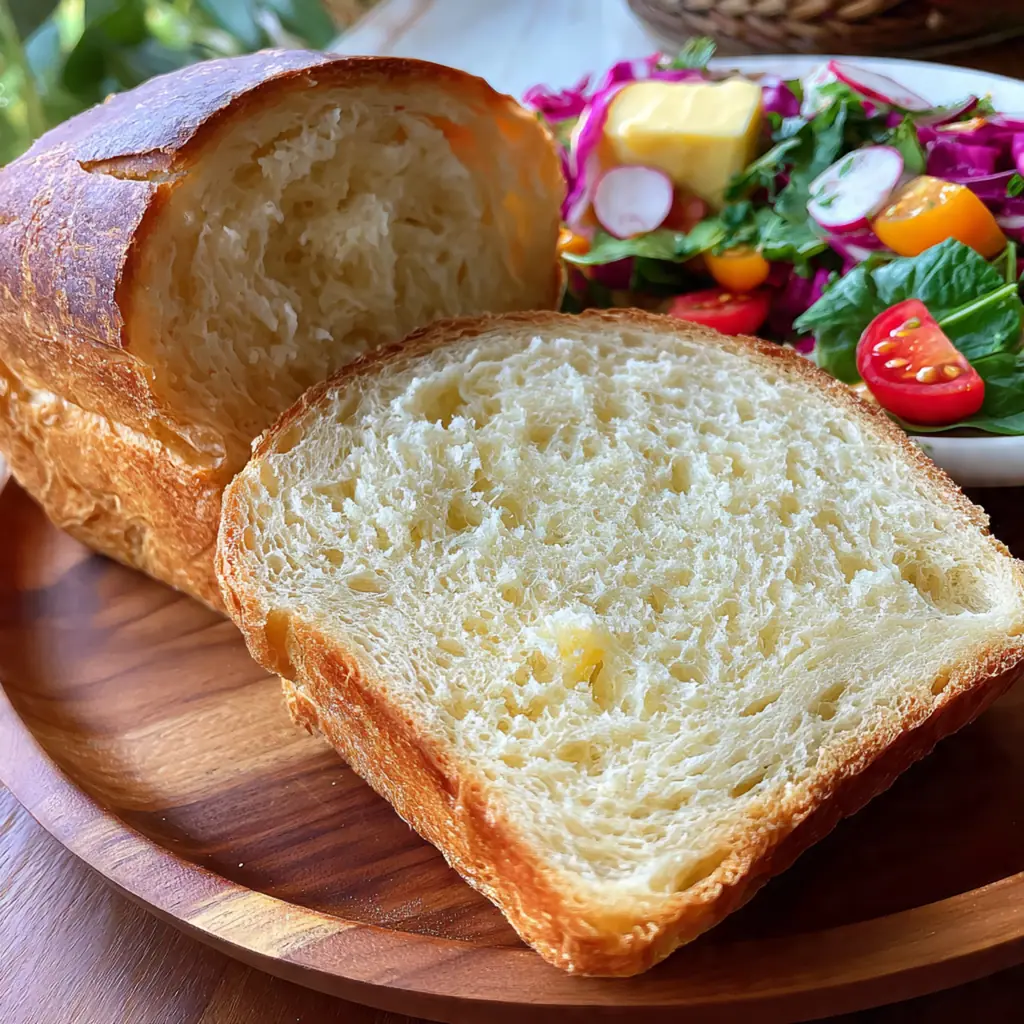
I love thick slices slathered with salted butter and a dollop of raspberry jam for the ultimate breakfast treat. This easy white bread makes incredible sandwiches, from a classic BLT to simple peanut butter and jelly, and it’s the perfect base for unbeatable French toast or bread pudding. Don’t forget how wonderful it is just torn by hand and dipped into a steaming bowl of tomato soup or beef stew. It also makes fantastic garlic bread or croutons for salads when you have a loaf that’s a day or two old.
Cultural Context
This style of simple, soft white bread is deeply woven into the fabric of American home cooking, tracing back to the era of commercial yeast and readily available white flour. It represents a shift from dense, sourdough-based loaves to a more accessible, quicker-rising bread that became a weekday staple. While European traditions often celebrate crusty, lean loaves, this American classic prioritizes a soft, pillowy interior and a mild flavor, perfect for sandwiches and toasting. Baking it at home connects you to a long line of home bakers who found pride and practicality in filling their own breadboxes.
Pro Tips
- Use a kitchen thermometer for your liquids to guarantee yeast success
- Knead until the dough passes the windowpane test for best texture
- Let it rise in a turned-off oven with the light on if your kitchen is cool
- Substitute one cup of whole wheat flour for a heartier flavor
- I always double the recipe and freeze one loaf
Frequently Asked Questions
Yes, you can substitute instant yeast for the active dry yeast in this Easy White Bread. You can add it directly to the dry flour without dissolving it first in warm water, which saves a step. The rising times may be slightly faster.
Absolutely. After the first rise, you can punch down the dough, shape it, place it in the loaf pan, cover it tightly, and refrigerate for up to 24 hours. When ready, let it come to room temperature and complete its final rise before baking for the best results.
You can use any milk you have on hand, like 2%, skim, or even a non-dairy alternative. The small amount of milk adds tenderness and a slight richness, but water can be used in a pinch for a slightly chewier crust.
The bread is done when the crust is a deep golden brown and the loaf sounds hollow when tapped on the bottom. For certainty, an instant-read thermometer inserted into the center should read 190-200°F (88-93°C).
This versatile American-style bread is perfect for classic sandwiches, toasted with jam or butter for breakfast, or served alongside soups, stews, and salads. It’s also fantastic for making breadcrumbs, croutons, or French toast.