

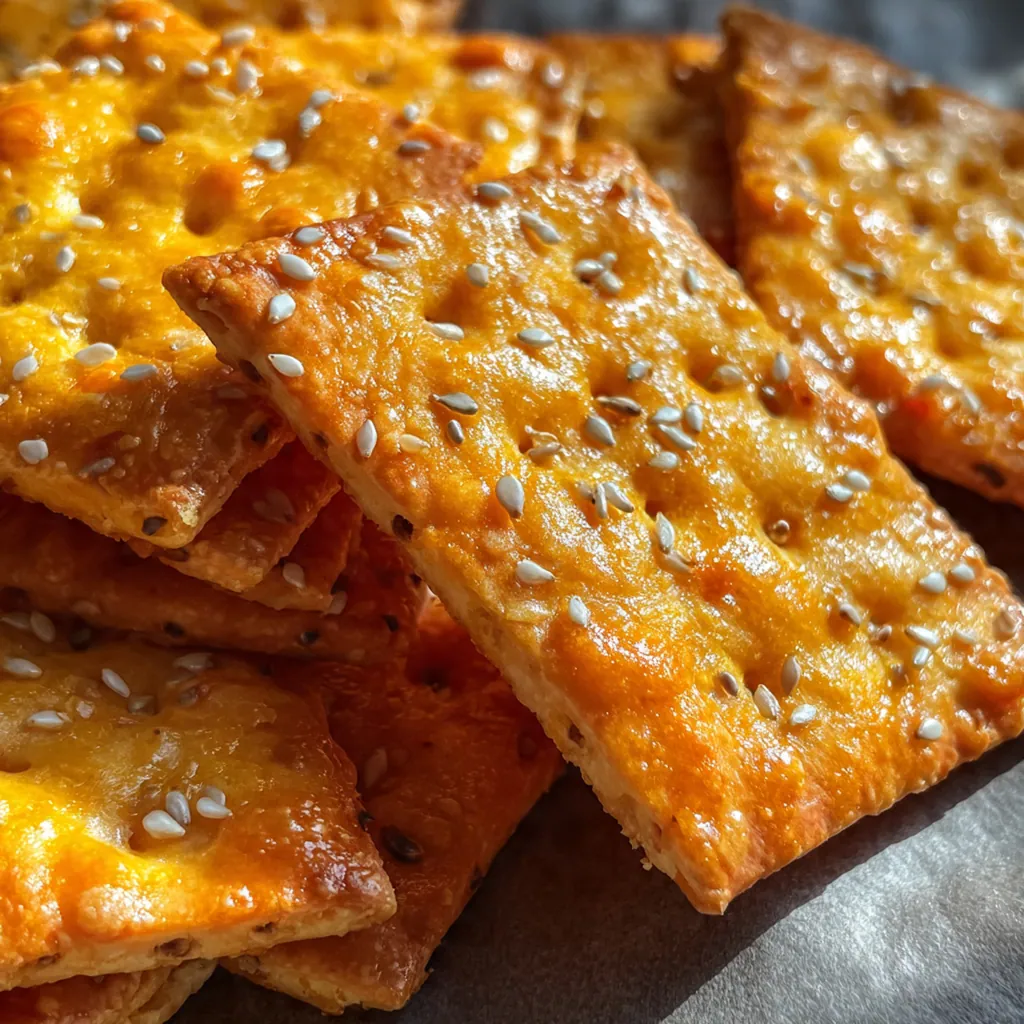
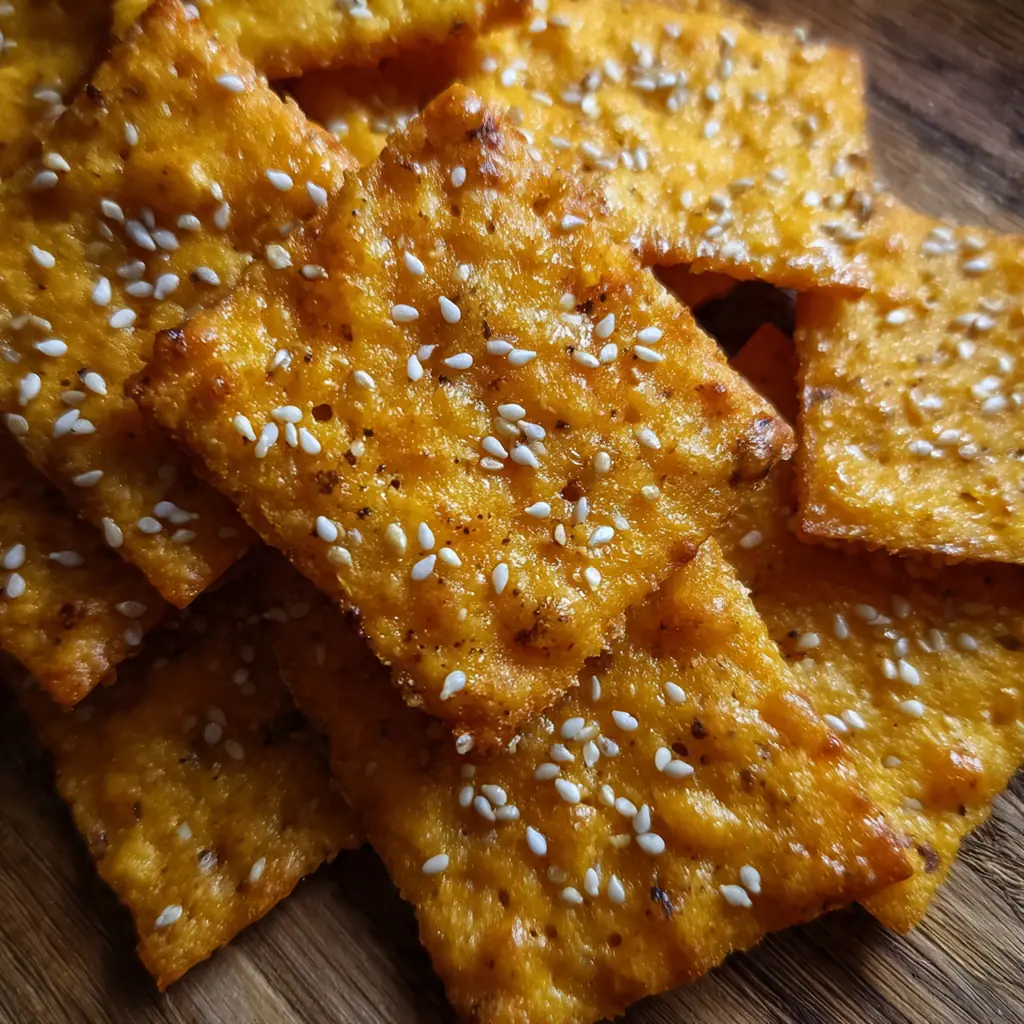
These homemade cheese crackers are a game-changer for snacking—crispy, cheesy, and packed with flavor in every bite. Forget the store-bought boxes; you can make a fresh batch in under 30 minutes with simple pantry staples. Whether you need a quick snack or the perfect companion for your favorite soup, these cheese crackers deliver that irresistible savory crunch. I love making these because they bring back memories of snacking with my family, and the fresh taste is simply unbeatable.
Why You'll Love This Recipe
- Fresh, homemade taste that blows store-bought crackers out of the water
- Customizable—add your favorite herbs or spices to make them uniquely yours
- Perfectly crisp texture that stays fresh for days
- Ready in just 30 minutes from start to finish
- Great for parties, cheese boards, or solo snacking
Ingredients You’ll Need
- All-purpose flour: the sturdy base that gives the crackers structure, choose a good quality brand for the best texture
- Salt: enhances the overall flavor profile and balances the richness of the cheese, fine sea salt works perfectly
- Garlic powder: adds a subtle savory depth without overpowering the cheese flavor, store it airtight to keep it potent
- Paprika: provides a hint of color and mild warmth, sweet or smoked varieties both work well
- Unsalted butter: crucial for flakiness, keep it cold to create steam pockets for a tender bite, European-style butter adds extra richness
- Sharp cheddar cheese: the star ingredient, finely shredding it ensures it distributes evenly for maximum cheesiness in every cracker
- Cold water: binds the dough together just enough without making it tough, ice water is best for keeping the butter cold
- Large egg: for an optional egg wash that gives a beautiful golden shine and extra crispness, whisk it well before brushing
- Grated Parmesan cheese: an optional topping for an extra flavor boost and salty kick, use freshly grated for the best melt
- Flaky sea salt: optional sprinkling adds a delightful crunch and bursts of savory flavor on top
- Fresh herbs: chives or thyme for garnish, they add a pop of color and a fresh aroma that complements the cheese
How to Make It
Preheat and Prep:
Start by preheating your oven to 375°F (190°C). Line two baking sheets with parchment paper and set them aside to make cleanup a breeze.
Mix Dry Ingredients:
In a large bowl, whisk together the flour, salt, garlic powder, and paprika until evenly combined. This ensures every cracker gets a consistent, flavorful base.
Cut in the Butter:
Add the cold cubed butter to the flour mixture. Using a pastry cutter or your fingertips, work the butter in until the mixture looks like coarse crumbs with some pea-sized butter pieces remaining.
Add the Cheese:
Stir in the finely shredded cheddar cheese until it’s evenly distributed throughout the buttery flour. The cheese should coat the flour like little savory gems.
Form the Dough:
Drizzle the cold water over the mixture and stir with a fork until a shaggy dough forms. Gently knead it in the bowl for 1-2 minutes just until it comes together into a cohesive ball.
Chill the Dough:
Divide the dough in half and shape each portion into a flat disk. Wrap them in plastic wrap and refrigerate for at least 15 minutes to firm up the butter and relax the gluten.
Roll and Cut:
On a lightly floured surface, roll out one disk of dough to about 1/8-inch thickness. Use a sharp knife or pizza cutter to cut the dough into 1-inch squares or rectangles.
Arrange and Prick:
Arrange the cut crackers on the prepared baking sheets, leaving about 1/2 inch between each cracker. Prick each cracker once with a fork to prevent puffing during baking.
Add Finishes and Bake:
If using egg wash, lightly brush the tops of the crackers for a golden finish. Sprinkle with optional Parmesan or flaky sea salt if desired. Bake for 12-15 minutes, rotating the sheets halfway through, until golden and crisp around the edges.
Cool and Repeat:
Remove from the oven and let cool on the baking sheets for 5 minutes. Transfer to a wire rack to cool completely—they’ll continue to crisp as they cool. Repeat the rolling and cutting with the second disk of dough.

You Must Know
- Keep your butter as cold as possible for the flakiest texture
- Don’t skip the pricking step—those tiny holes prevent puffing
- Let them cool completely on the wire rack for maximum crispness
- I always rotate my baking sheets halfway through baking for even browning
Storage Tips
Once your cheese crackers are completely cool, store them in an airtight container at room temperature. They’ll stay fresh and crispy for up to one week. If you want to make them last longer, you can freeze them in a sealed container for up to two months. If they lose some crispness after storage, just refresh them in a 300°F oven for about 5 minutes to bring back that perfect crunch.
Ingredient Substitutions
If you want to make these crackers gluten-free, simply swap the all-purpose flour with a 1:1 gluten-free baking blend. For a different flavor profile, try using Gouda or pepper jack instead of sharp cheddar, or mix a bit of Parmesan right into the dough. You can also add other spices like onion powder, cayenne, or dried rosemary to customize the taste. For an egg-free version, simply skip the egg wash—the crackers will still be delicious, though slightly less glossy.
Serving Suggestions
These cheese crackers are fantastic on their own, but they also shine on a charcuterie board alongside brie, gouda, and fresh fruit. Try crumbling them over a creamy tomato soup for added texture and flavor, or serve them with chili for a satisfying crunch. They also make a perfect base for mini appetizers—top them with cream cheese and smoked salmon or a dollop of spicy pepper jelly.
Cultural Context
While classic cheese crackers are an American staple, particularly popularized by brands like Goldfish and Cheez-It, the concept of savory cheese crisps is found across many cultures. In the UK, you might find similar cheesy biscuits. Making them at home brings back the satisfaction of traditional American baking, where simple pantry staples are transformed into something special. It’s a testament to how easy and rewarding homemade snacks can be, echoing the homestyle cooking that generations have enjoyed.
Pro Tips
- For extra cheese flavor, mix a bit of sharp cheddar and Parmesan in the dough
- If the dough gets too warm while rolling, pop it back in the fridge for 10 minutes
- Don’t let the butter soften too much before cutting it in
- I find using a bench scraper makes cutting the crackers into perfect squares much easier
Frequently Asked Questions
Sharp cheddar cheese is ideal for these cheese crackers because it provides a strong, savory flavor that stands out after baking. The key is to finely shred the cheese so it incorporates evenly into the dough. You can experiment with pepper jack for a spicy kick or a mild cheddar for a more subtle taste, but sharp cheddar gives the best result.
Yes, you can make the dough for these cheese crackers ahead of time. Prepare the dough, wrap it tightly in plastic wrap, and refrigerate it for up to 3 days. You can also freeze the dough for up to 2 months. If the dough is too firm to roll after chilling, let it sit at room temperature for about 10 minutes. Baked crackers can be stored in an airtight container at room temperature for up to a week.
For the best texture in your cheese crackers, cold unsalted butter is essential because it creates flaky layers as it melts in the oven. If you don’t have butter, you could substitute an equal amount of cold vegetable shortening, though the flavor won’t be as rich. Margarine is not recommended as it contains more water and can make the crackers tough or greasy.
Your cheese crackers are ready when they are golden brown around the edges and firm to the touch. Since baking times can vary based on your oven and cracker thickness, start checking them at the 12-minute mark. They should look lightly puffed and have a beautiful golden color. Let them cool on the baking sheet for a few minutes; they will crisp up as they cool.
These cheese crackers are incredibly versatile and fit right into American snacking traditions. Serve them plain as a quick snack, or pair them with soups and stews for a crunchy side. They are also fantastic with cheese dips, hummus, or a charcuterie board. Their savory, salty flavor makes them a perfect companion for a wide range of foods.