


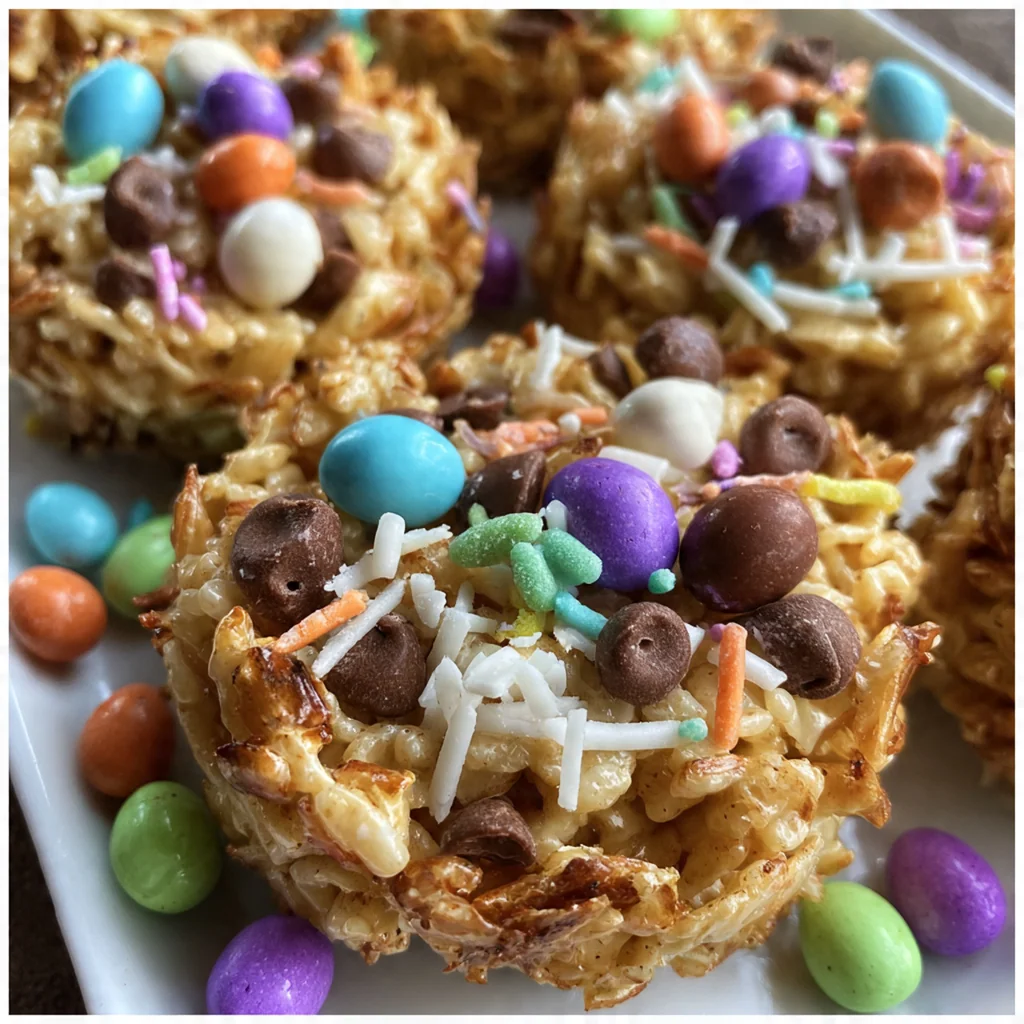
Krispies Easter Egg Nests bring back the sweetest childhood memories of springtime crafting and sticky fingers. These adorable treats combine the nostalgic crunch of Rice Krispies with a gooey, chocolatey base that sets into the perfect edible basket shape. What I love most is how they capture the festive spirit without any oven time—just simple ingredients shaped by hand. Filled with colorful candy eggs, they’re a guaranteed hit for Easter celebrations and make a fantastic project to tackle with the kids this season.
Why You'll Love This Recipe
- No baking required, making it a safe and easy activity for kids
- Ready in under 30 minutes from start to finish
- The irresistible combo of crunchy cereal and chewy, chocolatey marshmallow
- Visually festive and perfect for Easter parties or gifts
- Can be made up to 3 days in advance
Ingredients You’ll Need
- Salted butter: adds rich flavor and helps everything melt together smoothly; using a good quality butter makes a noticeable difference
- Regular marshmallows: the essential binder that creates that classic, gooey crispy texture; fresh ones melt better
- Rice Krispies cereal: provides the signature crunch and structure; ensure the cereal is fresh for the best snap
- Semi-sweet chocolate chips: introduces a deep, chocolatey flavor that balances the sweet marshmallows; a mid-range melt is perfect here
- Cadbury Mini Eggs: the colorful, candy-coated centerpiece that makes the nests so festive; they add a pop of color and a crunchy shell
- Non-stick cooking spray: crucial for greasing the muffin tin and your hands; prevents the sticky mixture from clinging everywhere
- Pastel-colored sprinkles: an optional decoration for extra festive flair; choose fine sprinkles so they stick well to the soft surface
How to Make It
Prep the Muffin Tin:
Start by generously coating a standard 12-cup muffin tin with non-stick cooking spray. This generous coating is your secret weapon for clean removal later, so don’t be shy with the spray.
Melt the Base:
In a large pot, melt the salted butter over low heat. Once fully melted, add the entire package of marshmallows, stirring constantly until completely smooth and melted, which usually takes about 3-4 minutes. It’s crucial to remove the pot from the heat immediately to prevent burning the mixture.
Add the Chocolate:
Stir in the semi-sweet chocolate chips until they are fully melted and the mixture becomes smooth and glossy. The residual heat from the melted marshmallows should melt the chips perfectly without any extra cooking.
Incorporate the Cereal:
Quickly fold in the 6 cups of Rice Krispies cereal. Stir gently but thoroughly until every single piece is evenly coated with that rich chocolate mixture. You’ll want to work fast here, as the mixture will start to set and firm up.
Shape the Nests:
Divide the mixture evenly among the prepared muffin cups, using about 1/4 cup of mixture per cup. Use the back of a greased spoon or your lightly greased fingers to press the mixture up the sides of each cup, creating a deep well in the center to form that perfect nest shape.
Add the Candy Eggs:
Immediately place 3 candy eggs into the center of each nest. If you’re using sprinkles for extra decoration, add them right now before the mixture fully sets so they adhere nicely.
Chill to Set:
Refrigerate the muffin tin for at least 20-30 minutes until the nests are completely firm and set. This chilling step ensures they hold their shape beautifully and won’t crumble when you remove them.
Remove and Serve:
Gently run a thin knife around the edge of each nest to loosen it, then carefully pop them out of the tin. You can serve these delightful Krispies Easter Egg Nests chilled right from the fridge or at room temperature.

You Must Know
- Work quickly after adding the cereal to prevent the mixture from hardening in the pot
- Lightly grease your hands with cooking spray for easy nest shaping
- If the mixture gets too stiff, reheat briefly on low for 10-15 seconds
- Use dark chocolate chips for a richer, less sweet flavor profile
Storage Tips
To keep your Krispies Easter Egg Nests tasting fresh, store them in an airtight container at room temperature for up to 3 days, or pop them in the refrigerator for up to 5 days if your kitchen is warm. If you need to stack them, place a sheet of parchment paper between layers to prevent them from sticking together. While it’s tempting to freeze them, I don’t recommend it as the texture of the Rice Krispies can become soggy once they thaw out, losing that satisfying crunch.
Ingredient Substitutions
For a gluten-free version, simply swap the regular Rice Krispies cereal for a certified gluten-free crispy rice cereal—most brands have a great alternative that works exactly the same. If you need to make these dairy-free, you can use vegan butter, dairy-free chocolate chips, and vegan marshmallows, which are widely available. The candy eggs are the trickiest part for allergies, so always check the package warnings and look for nut-free or gluten-free candy egg alternatives if needed.
Serving Suggestions
Serve these Krispies Easter Egg Nests as a stand-alone dessert or snack; they’re fantastic on their own or alongside a glass of cold milk, a cup of coffee, or rich hot chocolate. Arrange them on a platter with other Easter treats like chocolate bunnies and sugar cookies for a truly festive dessert spread that will wow your guests. They also make adorable party favors—just place one in a clear cellophane bag tied with a pastel ribbon for a sweet gift.
Cultural Context
These nests are a fun, American twist on classic no-bake cereal treats, which have been a pantry staple for decades thanks to their simplicity and kid-friendly appeal. Easter itself is a huge holiday in American households, often marked by egg hunts and festive kitchen projects, so a recipe like this that combines hands-on fun with delicious results is a natural fit. It’s part of a broader tradition of creating edible crafts during holidays, where the process of making the food is just as enjoyable as eating it, especially for families looking for non-egg activities.
Pro Tips
- Work fast after adding the cereal to avoid the mixture hardening in the pot
- Grease your hands lightly with cooking spray to prevent sticking while shaping
- For a richer flavor, try swapping semi-sweet chocolate chips for dark chocolate
- Ensure the nests are fully chilled before removing from the tin for clean, sharp edges
- If the mixture becomes difficult to work with, a quick 10-second zap in the microwave helps
Frequently Asked Questions
While the chocolate acts as a binder and adds flavor, you can use a marshmallow-only base for the Krispies Easter Egg Nests. However, the chocolate helps the nests hold their shape better. For a dairy-free version, substitute with vegan marshmallows and dairy-free chocolate chips.
When shaping your Krispies Easter Egg Nests, grease your hands and the muffin tin liners with a little extra butter or non-stick spray. You can also wet your hands slightly with cold water to prevent the sticky marshmallow mixture from clinging to your skin.
Store your Krispies Easter Egg Nests in an airtight container at room temperature. They will stay fresh for up to 3 days. If you stack them, place a layer of parchment paper between them to prevent sticking and keep the candy eggs intact.
If your Krispies Easter Egg Nests are hard, you likely overcooked the marshmallow mixture. Marshmallows should just be melted and smooth, not browned. Also, over-packing the mixture into the muffin tin can compress the cereal and result in a dense texture.
Rice Krispies cereal provides the signature crunch and structure for the Easter Egg Nests. Substituting with puffed rice or corn flakes will alter the texture and taste. For the best results and authentic flavor, stick to Rice Krispies cereal.