


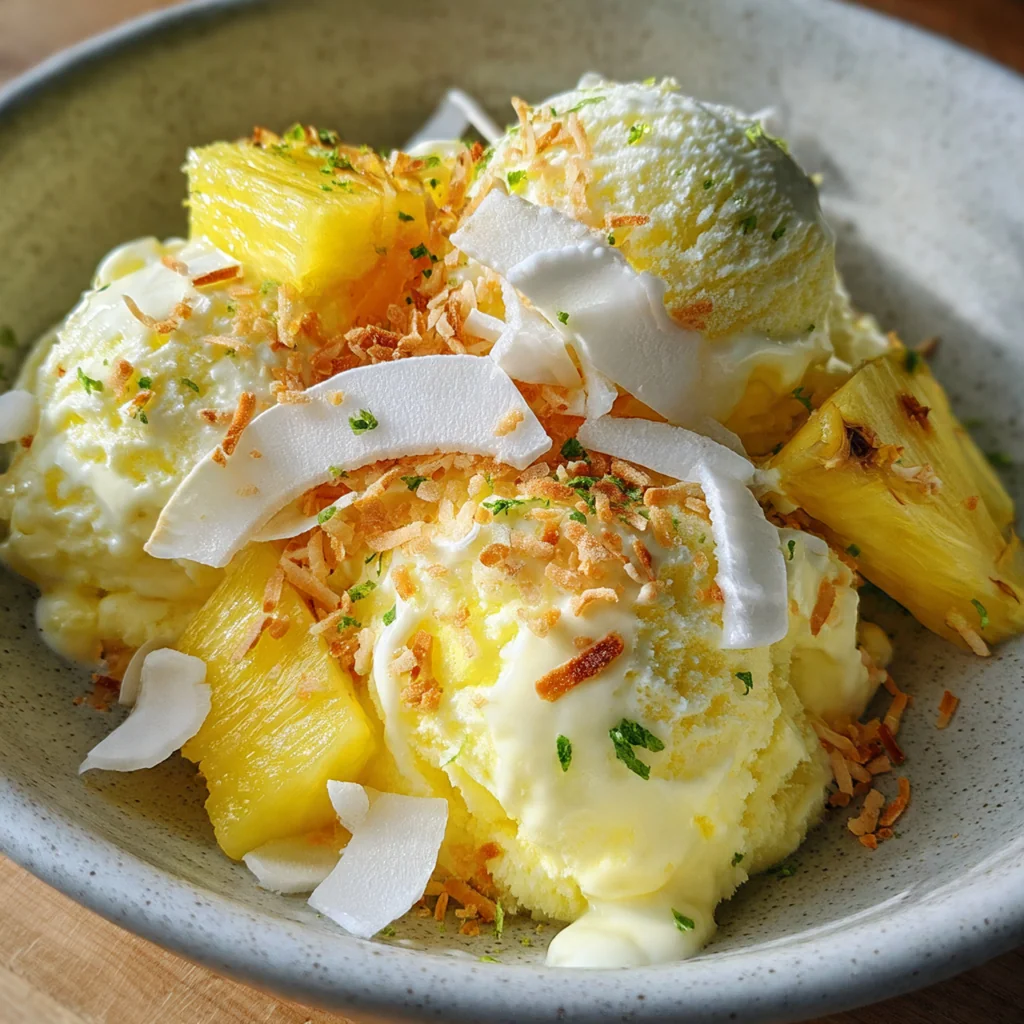
This Pineapple Ice Cream Summer is the homemade tropical escape you’ve been craving, turning that sweet-tart fruit into a creamy, dairy-free dream. It’s the ultimate recipe for beating the heat, born from my love for turning fresh summer fruit into something you can savor straight from the freezer. This American-inspired treat relies on a clever trick with coconut milk to achieve incredible richness without any cream. You’ll be amazed at how caramelizing the pineapple first creates a flavor you simply can’t get from a store-bought carton.
Why You'll Love This Recipe
- It’s luxuriously creamy with zero dairy, thanks to whipped coconut milk
- Caramelizing the fresh pineapple gives it a deep, unforgettable tropical sweetness
- Perfectly balanced with a refreshing tang from a splash of lime
- You’ll love the optional splash of rum that keeps it scoopable
- My family requests this every single summer without fail
Ingredients You’ll Need
- Large ripe fresh pineapple: The star of the show provides natural sweetness and vibrant tang. Choose one that smells fragrant at the stem and yields slightly to gentle pressure.
- Granulated sugar, divided: Sweetens the ice cream base and helps caramelize the pineapple. The sugar draws out the fruit’s juices, creating that golden syrup.
- Fresh lime juice: Adds a bright, acidic note that cuts through the richness and enhances the pineapple flavor. Always squeeze it fresh for the best pop.
- Full-fat coconut milk, chilled overnight: This is your dairy-free cream. Chilling it separates the thick cream from the water, giving you the perfect texture for whipping.
- Pure vanilla extract: Adds a warm, comforting depth that complements the tropical flavors beautifully. A little goes a long way here.
- Fine sea salt: A pinch is crucial for balancing all the sweet flavors and making the pineapple taste even more vibrant.
- Coconut rum or vodka (optional): The alcohol prevents the ice cream from freezing rock solid. It’s my secret for a perfectly scoopable texture every time.
How to Make It
Prepare and Caramelize the Pineapple:
Start by prepping your fresh pineapple, aiming for about four cups of small chunks. Toss it in your skillet with that first portion of sugar and cook it down. You’re not just softening it; you’re coaxing out its natural sugars to create a light golden, syrupy caramel right in the pan. Stir in the lime juice right after taking it off the heat, then let it cool for a bit before blending.
Puree Until Silky Smooth:
Once your caramelized pineapple has cooled for about ten minutes, transfer every last bit of fruit and syrup into your blender. Blend it on high until it’s completely smooth and pourable, with no fibrous chunks remaining. Pour this vibrant puree into a large mixing bowl and let it come all the way to room temperature. Patience here prevents the next step from turning into a melty mess.
Whip the Chilled Coconut Cream:
This is the magic step. Open your chilled cans without shaking them and scoop out only the solid, thick white cream that’s risen to the top. Save the thinner coconut water for a smoothie later. Use your hand mixer to whip that cream on high speed for a few minutes. You’ll know it’s ready when it looks fluffy and holds soft peaks, just like whipped dairy cream.
Combine the Ice Cream Base:
Go back to your bowl with the cooled pineapple puree. Add in the rest of the sugar, the vanilla extract, the salt, and that optional splash of rum or vodka. Give it a really good whisk, making sure all that granulated sugar dissolves completely into the mixture. This ensures your final texture is smooth, not grainy.
Fold Everything Together Gently:
Now, add your fluffy whipped coconut cream to the pineapple base. Use a flexible spatula and a light hand to fold them together. You want to incorporate the cream fully so there are no white streaks, but you’re also trying to keep as much of that airy volume as possible. This gentle technique is what gives the ice cream its wonderful, light body.
Churn to Soft-Serve Consistency:
Pour the combined mixture into the bowl of your ice cream machine. Churn it according to the manufacturer’s directions, which usually takes about twenty to twenty-five minutes. It’s done when it’s thick, holds its shape, and looks like perfect soft-serve. The machine is doing the hard work of incorporating air and freezing it gradually.
Freeze Until Firm:
Transfer your churned ice cream into a loaf pan or airtight container. Take a piece of parchment paper and press it directly onto the surface of the ice cream before sealing the lid. This little trick is a game-changer for preventing ice crystals. Let it set in the freezer for at least four hours, or ideally overnight, until it’s firm enough to scoop.
Serve and Enjoy:
When you’re ready to dive in, pull the container from the freezer and let it sit on your counter for five to ten minutes. This brief rest softens it just enough for easy, beautiful scoops. Serve it up in a bowl or a cone and top it with any of those fabulous optional garnishes for the full tropical experience.
You Must Know
- Chilling the coconut milk overnight is non-negotiable for proper whipping
- Let the pineapple puree cool completely before adding the whipped cream
- A ripe, fragrant pineapple makes all the difference in flavor
- That splash of alcohol really does help the texture
- I never skip the parchment paper press before freezing
Storage Tips
Store your finished pineapple ice cream summer creation in an airtight container in the freezer, and it’ll keep its perfect texture for up to two weeks. Always press a piece of parchment paper directly onto the surface before you put the lid on – it’s the single best way to ward off frosty ice crystals. When you’re ready for another bowl, just let it temper on the counter for a few minutes to become perfectly scoopable again. I find it’s best enjoyed within the first week, when the pineapple flavor is at its brightest.
Ingredient Substitutions
If you’re out of fresh lime, bottled lime juice will work in a pinch, though the flavor won’t be quite as vibrant. You can swap the granulated sugar for an equal amount of cane sugar or coconut sugar for a deeper, more caramel-like note. Don’t have coconut rum? Regular rum, vodka, or even leaving it out entirely works, though your ice cream will freeze a bit harder. For the toasted coconut topping, shredded unsweetened coconut toasted in a dry pan until golden is a fantastic alternative to pre-toasted flakes. In a real bind, you could use frozen pineapple chunks, but thaw and drain them well first, as fresh really is superior here.
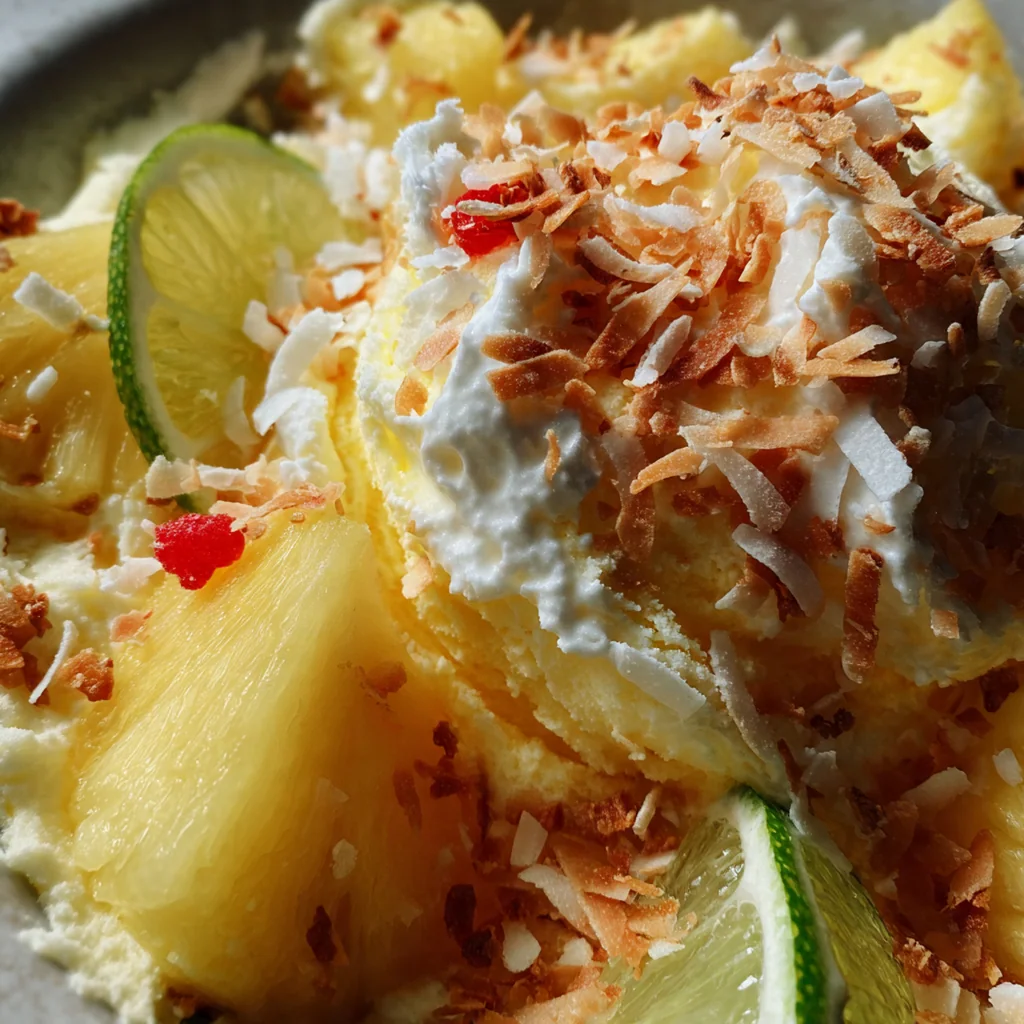
Serving Suggestions
Serve scoops in chilled bowls or classic waffle cones for that authentic Pineapple Ice Cream Summer feel, topped with a generous sprinkle of toasted coconut flakes and a fresh pineapple wedge on the rim. For a more decadent dessert, try it alongside grilled pineapple slices or peach halves – the smoky char plays off the creamy sweetness beautifully. It’s also incredible crumbled over a simple coconut macaroon or a chewy oatmeal cookie, creating the ultimate ice cream sandwich experience. For a brunch twist, a small scoop alongside a slice of pound cake or a fruit salad makes any morning feel like a vacation.
Cultural Context
While ice cream itself is an American classic, this particular blend of pineapple and coconut is a direct homage to tropical flavors found across the Pacific and the Caribbean. Think of the iconic piña colada or a Hawaiian Dole Whip – it’s that same irresistible pairing of bright fruit and rich coconut cream, but transformed into a frozen dessert you can make in your own kitchen. This recipe taps into that universal desire for a sweet, cooling escape, using techniques like caramelizing fruit and whipping non-dairy creams that are right at home in modern, inventive home cooking. It’s less about a specific tradition and more about capturing a feeling of sunshine and relaxation in every bite.
Pro Tips
- Use the ripest, sweetest pineapple you can find for intense flavor
- Don’t shake the coconut milk cans before opening after chilling
- If you lack an ice cream maker, freeze and whisk every 30 minutes
- That optional alcohol is your ticket to a scoopable texture
- I always make a double batch because it disappears so fast
Frequently Asked Questions
For the best flavor, use one large, ripe fresh pineapple. The natural sweetness and bright acidity of fresh fruit are essential for that perfect sweet-tart punch. Avoid canned pineapple, as it’s often too sweet and lacks the fresh, vibrant flavor that makes this dessert so special.
Absolutely! This ice cream is perfect for making ahead. After churning, freeze it in an airtight container. For the best texture, let it sit at room temperature for 5-10 minutes before scooping. The optional tablespoon of coconut rum or vodka helps inhibit ice crystals, keeping it creamy for days.
For a dairy-free version, full-fat coconut milk is essential for richness and cannot be substituted with lighter versions. If dairy isn’t an issue, you could use an equal amount of heavy cream, but you’ll lose the distinct tropical flavor that makes this Pineapple Ice Cream Summer unique.
After churning in your ice cream maker, it will have a soft-serve consistency. It then needs to ‘ripen’ in the freezer for at least 4-6 hours, or ideally overnight, to become firm and scoopable. It’s ready when it’s firm to the touch but still yields to a scoop.
This tropical ice cream is fantastic on its own, but for an extra-special treat, serve it with toasted coconut flakes, a drizzle of caramel, or fresh berry compote. It’s the perfect refreshing finale to any summer barbecue or picnic.