


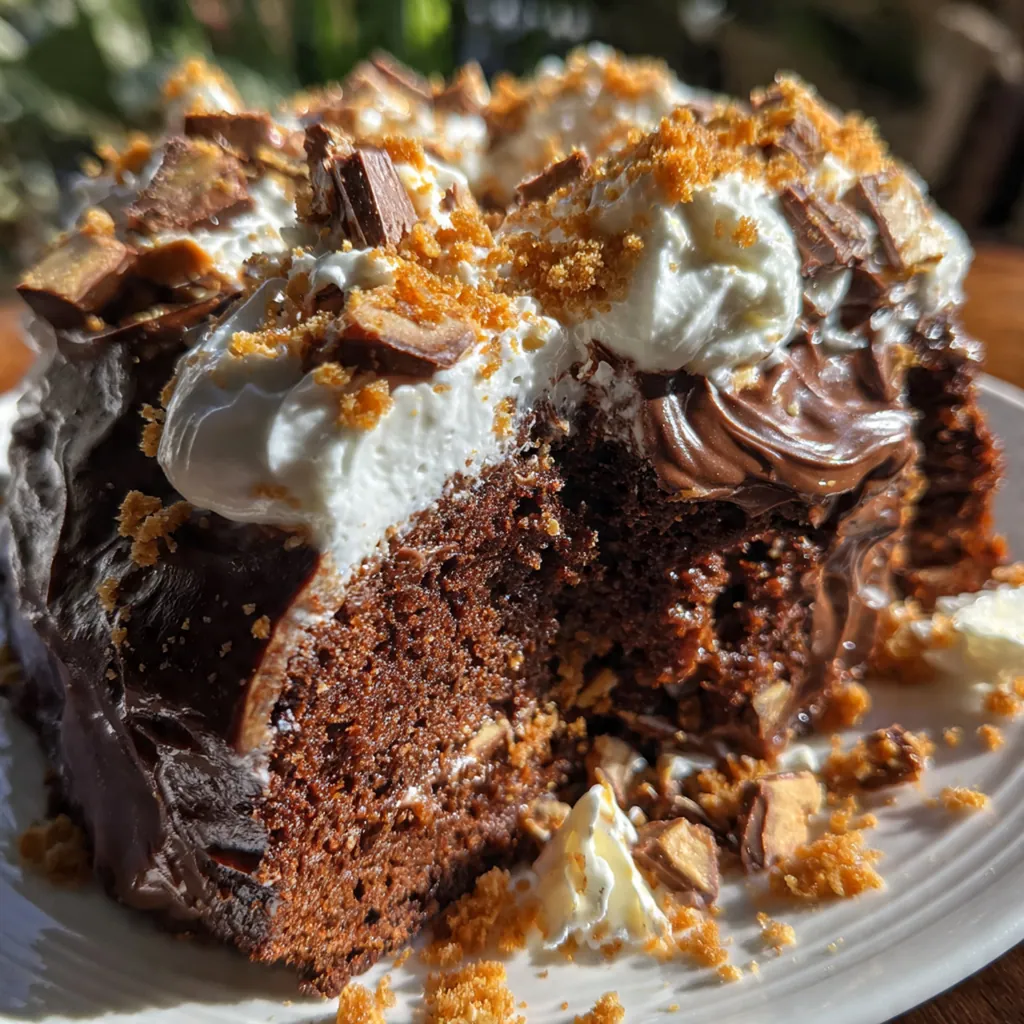
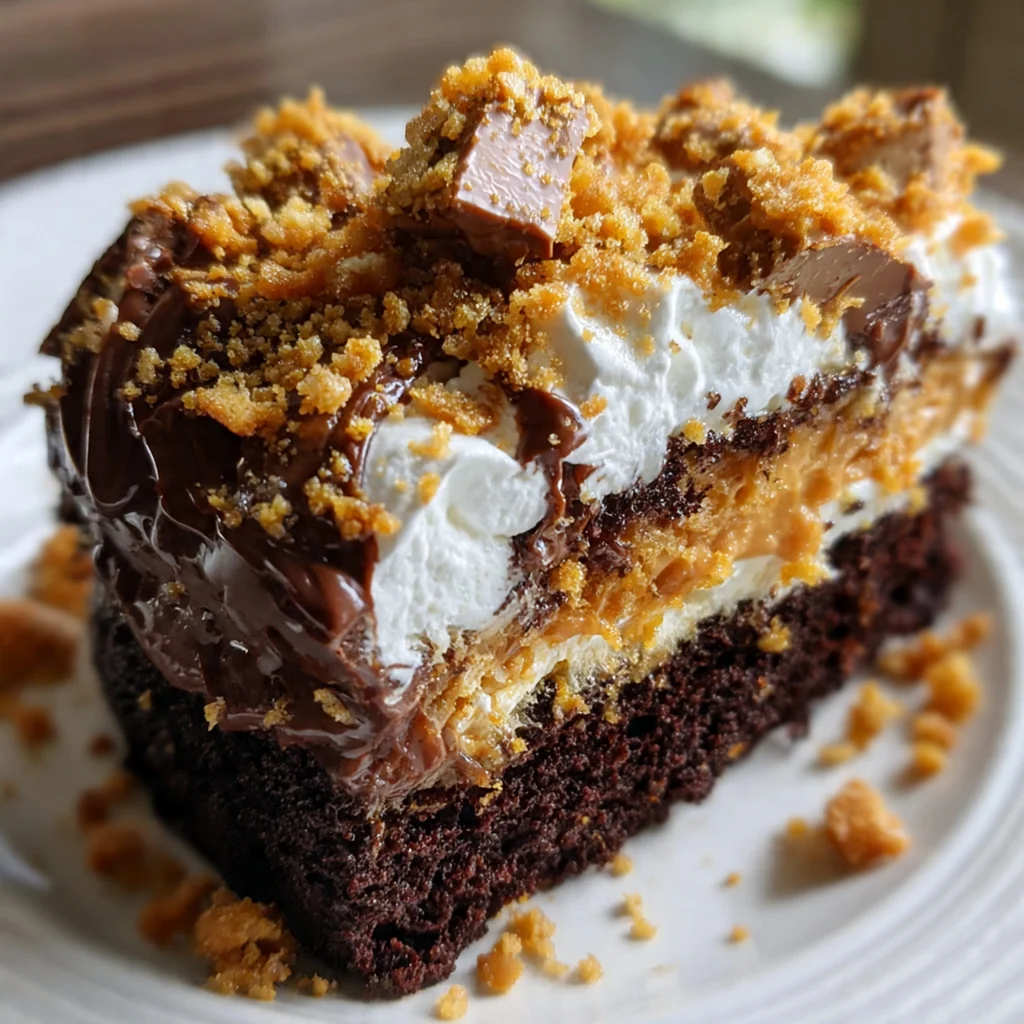
This Butterfinger Bomb Chocolate Cake is the kind of showstopper dessert that turns any gathering into a celebration. It pulls together the classic, irresistible combination of chocolate and peanut butter in the most indulgent way possible. I created this cake for my nephew’s birthday, and it’s been the most requested treat ever since. The layers of moist chocolate cake, creamy peanut butter filling, and that fantastic Butterfinger crunch make it an unforgettable American classic that’s perfect for anyone who loves a candy bar.
Why You'll Love This Recipe
- The coffee in the batter makes the chocolate flavor rich and deep without a coffee taste
- You get four layers of cake and filling for an incredible texture in every single bite
- The crunchy Butterfinger pieces add a fantastic contrast to the soft, moist cake and creamy …
- It’s a guaranteed crowd-pleaser that looks impressive but is totally doable at home
- My family requests this for every single birthday now
Ingredients You’ll Need
- All-purpose flour: provides the sturdy structure needed to hold up those four layers and all that filling make sure it’s fresh and fluffed before measuring for the lightest cake.
- Granulated sugar: sweetens the cake and helps create that tender crumb you love in a good chocolate cake.
- Unsweetened cocoa powder: use a Dutch-process cocoa for a deeper, smoother chocolate flavor that isn’t bitter.
- Baking soda and baking powder: this combo ensures your cake layers rise beautifully and have an even, fluffy texture.
- Salt: a key player that balances all the sweetness and makes the chocolate and peanut butter flavors pop.
- Large eggs: they bind the batter and add richness and structure make sure they’re at room temperature to blend smoothly.
- Buttermilk: its subtle tang and acidity tenderize the crumb and react with the leavening for a perfect rise.
- Strong brewed coffee: this is the secret weapon it amplifies the chocolate flavor without adding a coffee taste.
- Vegetable oil: keeps the cake incredibly moist for days much more reliably than butter in this recipe.
- Pure vanilla extract: rounds out all the flavors with a warm, aromatic background note always use the real stuff.
- Butterfinger candy bars: they bring the iconic crunchy, peanut-buttery texture that makes this cake so special.
- Creamy peanut butter: choose a standard shelf-stable brand for the filling it holds its texture better than natural kinds.
- Powdered sugar: dissolves instantly to create a smooth, sweet peanut butter filling and a silky chocolate frosting.
- Heavy cream or milk: thins the peanut butter filling to a perfect spreading consistency and makes the frosting fluffy.
- Unsalted butter: forms the base of the frosting letting you control the salt level for a perfectly balanced finish.
- Milk: loosens the chocolate frosting to a dreamy, spreadable texture add it slowly so you don’t overdo it.
How to Make It
Prep Your Pans and Oven:
Start by preheating your oven to 350°F so it’s perfectly hot when your batter is ready. Grease and flour two nine-inch round cake pans, then line the bottoms with parchment paper rounds. This trio of steps is your insurance policy against sticking, so you’ll get clean layers every single time.
Mix the Dry Ingredients:
In a large bowl, whisk together the flour, granulated sugar, cocoa powder, baking soda, baking powder, and salt. You want to do this thoroughly to distribute the leaveners evenly, which guarantees your cake rises uniformly without any tunnels or dense spots.
Combine the Wet Ingredients:
In a separate bowl, whisk the room temperature eggs, buttermilk, cooled coffee, oil, and vanilla until the mixture is completely smooth and homogenous. Using room temperature ingredients here means they’ll incorporate into the dry ingredients much more easily and create a smoother batter.
Bring the Batter Together:
Pour the wet ingredients into the dry ingredients and stir with a spatula just until you no longer see streaks of flour. The batter will be quite thin, and that’s exactly what you want. Gently fold in half a cup of the crushed Butterfinger pieces so they’re distributed throughout.
Bake and Cool the Layers:
Divide the batter evenly between your prepared pans and bake for 28 to 32 minutes. The cake is done when a toothpick inserted into the center comes out clean. Let them cool in the pans for just 10 minutes before turning them out onto a wire rack to cool completely.
Prepare the Peanut Butter Filling:
While the cakes cool, make the filling by beating the peanut butter and powdered sugar together until it looks crumbly. Then, beat in the heavy cream one tablespoon at a time until the mixture transforms into a smooth, spreadable consistency. Set this aside while you make the frosting.
Whip Up the Chocolate Frosting:
In a large bowl, beat the softened butter until it’s creamy and pale. Beat in the cocoa powder until combined, then gradually add the powdered sugar, alternating with the milk and vanilla. Keep beating until the frosting is fluffy and smooth, adding a touch more milk if it seems too thick.
Slice, Stack, and Fill:
Once the cake layers are completely cool, use a long serrated knife to carefully slice each one in half horizontally. Place your first thin layer on a serving plate and spread it with a third of the peanut butter filling. Repeat with the next two layers and the remaining filling, then top with the final cake layer.
Frost and Garnish:
Frost the top and sides of the assembled cake with the chocolate frosting. Immediately press the remaining crushed Butterfinger pieces onto the sides and sprinkle more over the top. Let the cake set for at least thirty minutes before you slice into it, which makes for much cleaner, prettier servings.
You Must Know
- Room temperature ingredients are non-negotiable for a smooth batter and frosting
- The coffee deepens the chocolate flavor you won’t taste it at all
- Chill the filled cake for 15 minutes before frosting for stability
- Crush your Butterfingers in a sealed bag with a rolling pin
- This Butterfinger Bomb Chocolate Cake is a total showstopper
Storage Tips
You can store this cake covered at room temperature for up to two days, and the texture will still be fantastic. For any longer, pop it into an airtight container and keep it in the fridge for up to five days. I like to let individual slices sit out for about twenty minutes before serving so the frosting softens and the flavors are at their best. If you need to freeze it, wrap unfrosted cake layers tightly in plastic wrap and foil for up to three months, then thaw, fill, and frost when you’re ready.
Ingredient Substitutions
If you’re out of buttermilk, you can make a quick substitute by adding one tablespoon of white vinegar or lemon juice to a cup of milk and letting it sit for five minutes. For the coffee, you can just use hot water instead, though you’ll miss that depth of flavor it gives the chocolate. In the frosting, you can swap the milk for more heavy cream for an extra rich result, or even use a non-dairy milk if needed. For the Butterfingers, another crunchy peanut butter cup candy bar could work in a pinch, but the unique flavor won’t be quite the same.
Serving Suggestions
I love serving slices of this rich cake with a very cold glass of milk, it’s the perfect pairing. A scoop of vanilla bean ice cream on the side makes it feel like a full-blown sundae experience. For a grown-up dessert pairing, a cup of strong black coffee or even a dark stout beer balances the sweetness beautifully. Since it’s so indulgent, I often cut slightly smaller slices and everyone is still completely satisfied after just one.
Cultural Context
This Butterfinger Bomb Chocolate Cake is a wonderfully over-the-top example of American celebration baking, where more is often more. It takes the iconic candy aisle combination of chocolate and peanut butter, immortalized in treats like peanut butter cups, and turns it into a layered cake masterpiece. These kinds of desserts, loaded with candy and multiple components, became especially popular for birthdays and potlucks in the late 20th century. It’s a bake that embraces joy and nostalgia, turning a favorite snack into the centerpiece of a party.
Pro Tips
- Level your cake layers with a serrated knife for a stable, professional build
- Chill the frosting for 15 minutes if your kitchen is warm and it seems soft
- Press the Butterfinger pieces on right after frosting so they stick perfectly
- Let the cake set before slicing for those beautiful, clean layers
- It’s worth the extra step to slice each baked layer in half
Frequently Asked Questions
For the deepest chocolate flavor in your Butterfinger Bomb Chocolate Cake, Dutch-process cocoa powder is preferred as it’s less acidic and richer. However, natural unsweetened cocoa powder will also work well with the baking soda in this recipe.
Yes, you can assemble this cake a day ahead. Store it covered in the refrigerator. For the best texture and crunch from the Butterfinger pieces, add the final candy topping just before serving.
If you don’t have buttermilk, make a quick substitute by adding 1 tablespoon of lemon juice or white vinegar to 1 cup of milk. Let it sit for 5 minutes before using. This will provide the same acidity for a tender crumb.
The cake is done when a toothpick inserted into the center comes out clean or with a few moist crumbs, and the edges have pulled away from the pan slightly. This typically takes about 30 minutes in a preheated oven.
This rich American dessert stands alone perfectly. For an extra treat, serve it with a scoop of vanilla ice cream, a dollop of whipped cream, or a glass of cold milk to balance the sweetness.