

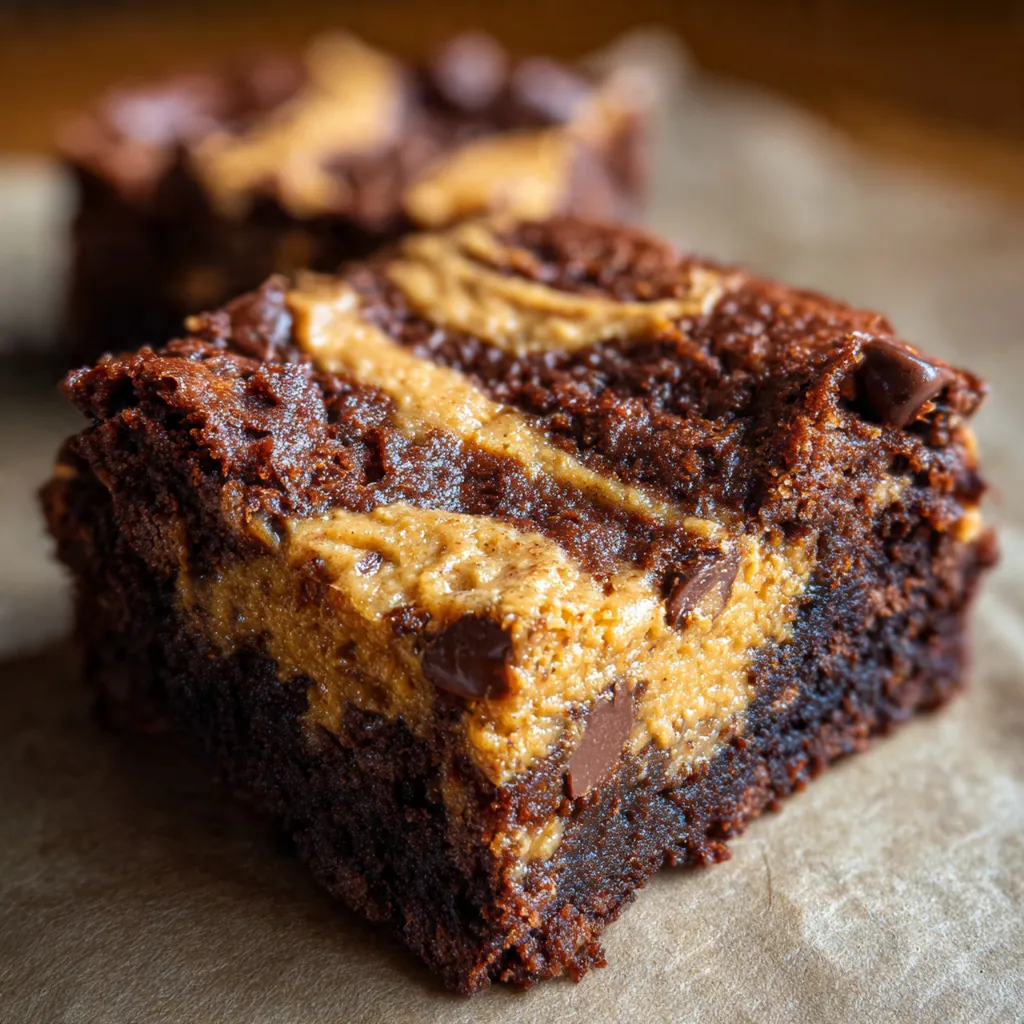
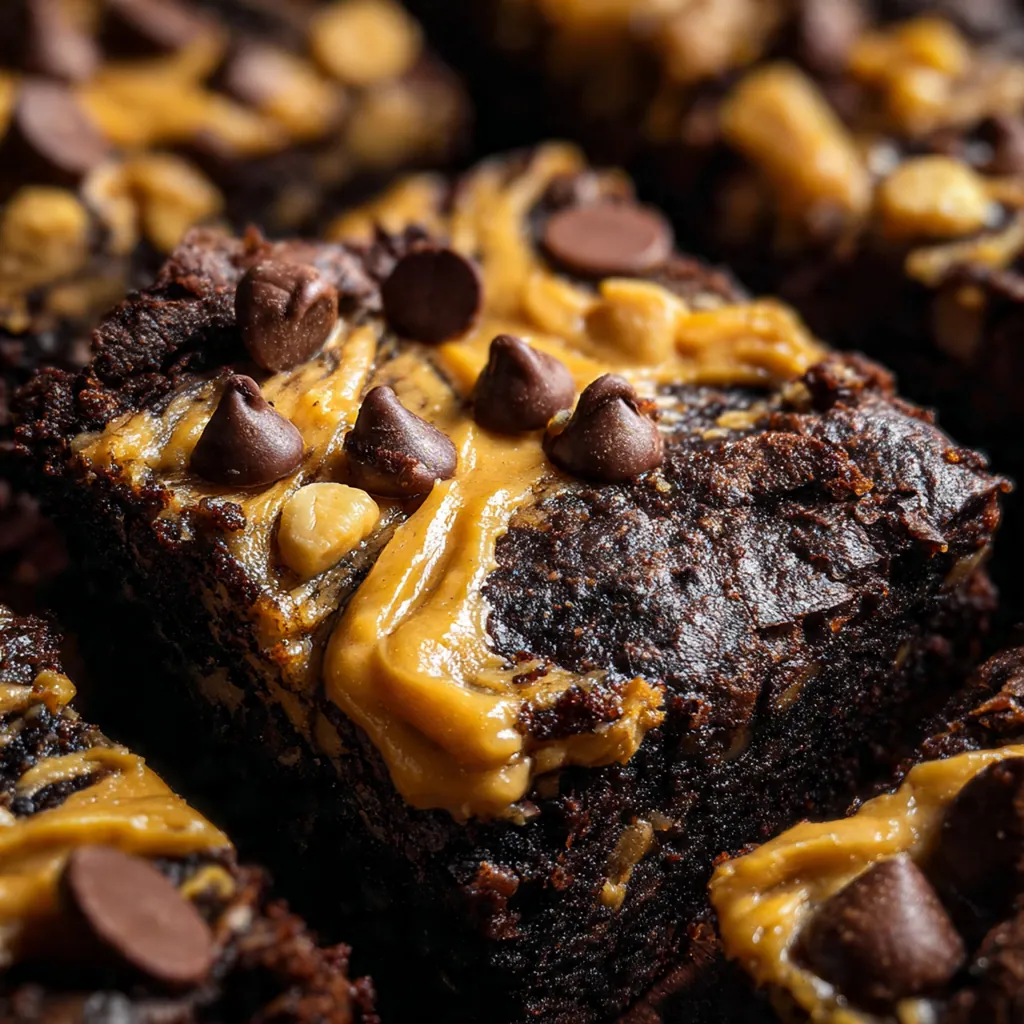
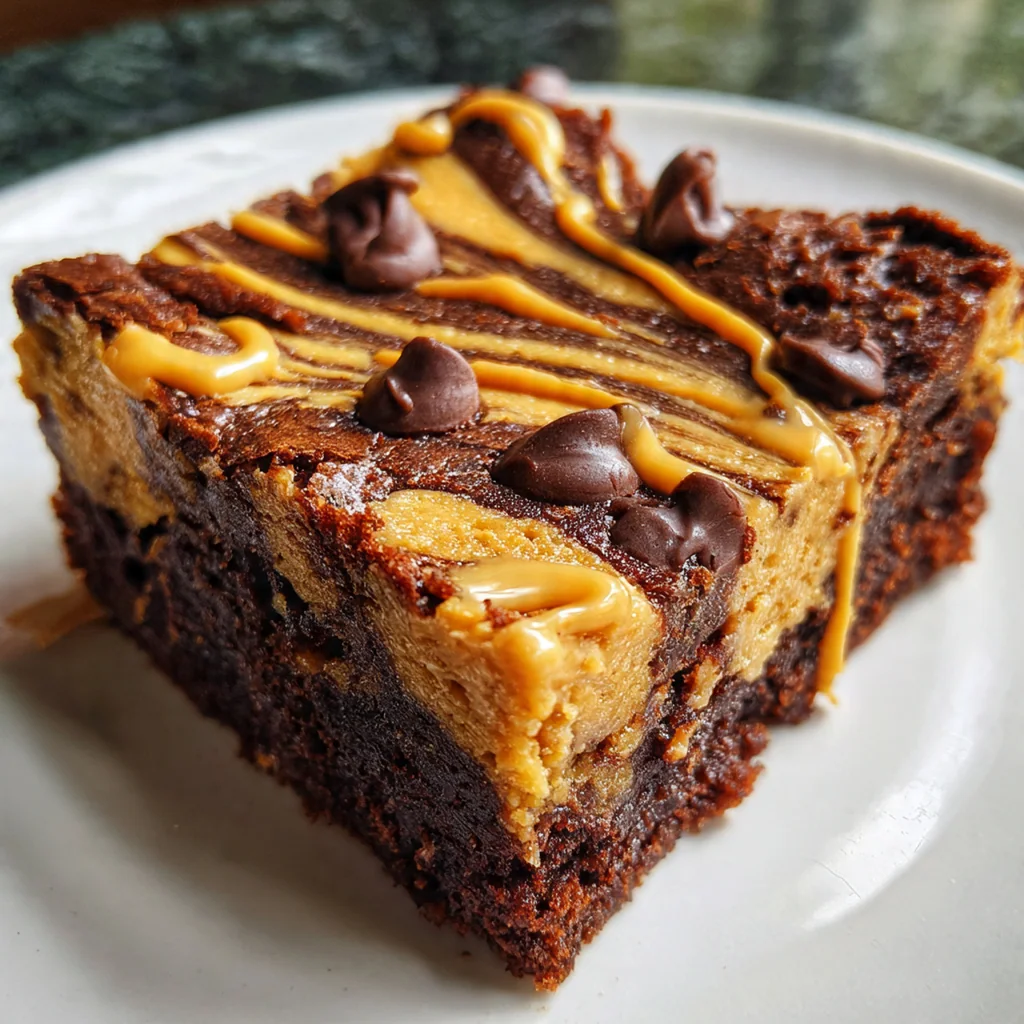
Every time I make these Peanut Butter Brownie Swirl bars, they vanish before the pan even cools down. This classic American treat marries a dense, fudgy chocolate base with a salty-sweet peanut butter cream cheese swirl in the most satisfying way. It’s that perfect contrast of textures and flavors that feels both nostalgic and special. You’ll find the process surprisingly straightforward, turning pantry staples into an impressive dessert that wins over any crowd.
Why You'll Love This Recipe
- The ultimate mashup of rich chocolate and salty-sweet peanut butter in every single bite
- Surprisingly simple to pull off with ingredients you likely already have on hand
- The swirled marble top looks bakery-worthy but requires zero professional skill
- They stay incredibly fudgy and moist for days, getting even better
- My family begs me to make these for every potluck and gathering
Ingredients You’ll Need
- Unsalted butter: for rich flavor and that signature fudgy texture you want it melted and slightly cooled so it blends smoothly without cooking the eggs.
- Granulated sugar: sweetens the brownie base and helps create a shiny, crackly top as it bakes.
- Large eggs: provide structure and richness use room temperature eggs for easier mixing into the batter.
- Vanilla extract: adds a warm, aromatic depth that enhances both the chocolate and peanut butter flavors.
- All-purpose flour: gives the brownies just enough structure to hold the swirl without becoming cakey.
- Unsweetened cocoa powder: use a good quality one for deep, rich chocolate flavor natural or Dutch-processed both work here.
- Salt: balances the sweetness and makes the chocolate taste more pronounced don’t skip it.
- Baking powder: gives just a slight lift so your bars aren’t overly dense.
- Cream cheese: softened to room temperature for a perfectly smooth and creamy peanut butter swirl.
- Creamy peanut butter: the star of the swirl pick a standard shelf-stable brand for the best consistency and flavor.
- Powdered sugar: sweetens the peanut butter filling without any graininess and helps thicken it slightly.
- Chopped peanuts: an optional garnish for a bit of crunch and extra peanut flavor on top.
- Semi-sweet chocolate chips: another optional sprinkle that adds melty pockets of chocolate to the finished bars.
How to Make It
Preheat and Prep Your Pan:
Start by preheating your oven to 350°F and greasing your 9×13 inch pan or lining it with parchment paper. Leaving an overhang on the parchment lets you lift the whole slab out later for super clean cuts. This little trick is a game-changer for presentation.
Melt and Cool the Butter:
Melt the butter in a microwave-safe bowl using short bursts to avoid splattering. Let it cool for about five minutes after melting. You want it liquid but not hot enough to start cooking the eggs when you mix them in.
Combine Wet Ingredients for Brownie Base:
Whisk the melted butter and granulated sugar together in a large bowl until they’re completely smooth. Add the four eggs one at a time, whisking well after each until the mixture looks thick and glossy. Stir in the vanilla to round out all those flavors.
Fold in the Dry Ingredients:
Sift the flour, cocoa powder, salt, and baking powder right into the wet ingredients. Gently fold everything together with a spatula until just combined. A few streaks of flour are totally fine overmixing is the enemy of a fudgy texture.
Make the Peanut Butter Swirl Filling:
In a separate bowl, beat the softened cream cheese until it’s smooth and lump-free. Add the peanut butter, powdered sugar, and the single egg, then mix until you have a uniform, creamy filling. Getting the cream cheese really soft first is the secret to a silky swirl.
Layer and Create the Swirl Pattern:
Pour the brownie batter into your prepared pan and spread it into an even layer. Drop big dollops of the peanut butter mixture all over the top. Use a knife or toothpick to gently swirl the two together with a few figure-eight motions. Don’t go overboard or you’ll lose the beautiful contrast.
Bake Until Just Set:
Bake for 25 to 30 minutes. You’ll know they’re done when the edges look set and a toothpick poked into the center comes out with a few moist crumbs attached. It’s better to slightly under-bake than over-bake for that fudgy center.
Cool Completely and Slice:
Let the pan cool completely on a wire rack. For the cleanest, sharpest slices, I always pop the pan into the fridge for about an hour after it cools. Then use a sharp knife to cut them into perfect squares.
You Must Know
- Properly softened cream cheese is non-negotiable for a smooth swirl
- A gentle hand when swirling creates the best marbled pattern
- Chilling before cutting guarantees those perfect, clean edges
- Don’t over-bake look for moist crumbs on your tester
- I never skip the chill step anymore it makes all the difference
Storage Tips
Once they’re completely cool, you can store these Peanut Butter Brownie Swirl bars in an airtight container at room temperature for up to three days, though I doubt they’ll last that long. For longer storage, keep them in the fridge for up to a week – the chill actually makes them extra fudgy. They freeze beautifully for up to three months; just wrap individual squares in plastic wrap and thaw them overnight in the fridge or for an hour on the counter when the craving hits.
Ingredient Substitutions
If you need a gluten-free version, a trusted 1:1 gluten-free flour blend works perfectly in place of the all-purpose flour. For a nut-free option, you can try swapping the peanut butter for sunflower seed butter, though the flavor will be different. In a pinch, you can use salted butter and just reduce the added salt in the brownie batter by half. While I haven’t tested dairy-free cream cheese, it should work for the swirl, but your results might vary slightly in texture.
Serving Suggestions
These bars are fantastic all on their own with a cold glass of milk, which is how my kids always eat them. For a next-level dessert, warm a square slightly and top it with a scoop of vanilla ice cream and a drizzle of chocolate or caramel sauce. They’re also perfect for packing into lunchboxes, taking on picnics, or stacking on a platter for a party – they’re sturdy, travel well, and always get compliments.
Cultural Context
The combination of chocolate and peanut butter is a truly American classic, rooted in comfort food traditions that go back decades. Think of iconic candy bars and beloved childhood snacks; this recipe takes that beloved pairing and bakes it into a shareable, homemade bar form. It’s the kind of dessert you’d find at a Midwest potluck or a Southern church social, where rich, satisfying treats are made to feed a crowd and put a smile on everyone’s face. It celebrates simplicity and big flavor over fussy techniques.
Pro Tips
- Take the cream cheese out of the fridge at least an hour ahead
- Start checking for doneness at 25 minutes every oven is different
- A toothpick or thin knife works best for swirling
- Let the melted butter cool so you don’t scramble the eggs
- I always line my pan with parchment for zero-stress removal
Frequently Asked Questions
For the smoothest, creamiest swirl, use a standard commercial creamy peanut butter, not the natural kind that separates. The emulsified texture of regular creamy peanut butter blends perfectly with the cream cheese and holds its shape when swirled into the brownie batter.
Absolutely! These bars store beautifully. Let them cool completely, then cover tightly. They’ll stay fudgy and delicious at room temperature for 2 days or in the refrigerator for up to 5 days. The flavors often improve after a day.
For a slightly different texture, you can use an equal amount of full-fat Greek yogurt or mascarpone cheese. However, cream cheese provides the ideal tangy balance and creamy structure that makes this Peanut Butter Brownie Swirl so special.
The edges will be set and may have slightly pulled away from the pan, while the center should still look a tiny bit soft. A toothpick inserted into the brownie (not the peanut butter swirl) should come out with a few moist crumbs, not wet batter. Overbaking leads to cakey, not fudgy, bars.
These rich bars are fantastic on their own! For an extra-decadent American dessert, top a warm bar with a scoop of vanilla ice cream and a drizzle of chocolate sauce. A cold glass of milk or a cup of coffee makes the perfect pairing.