

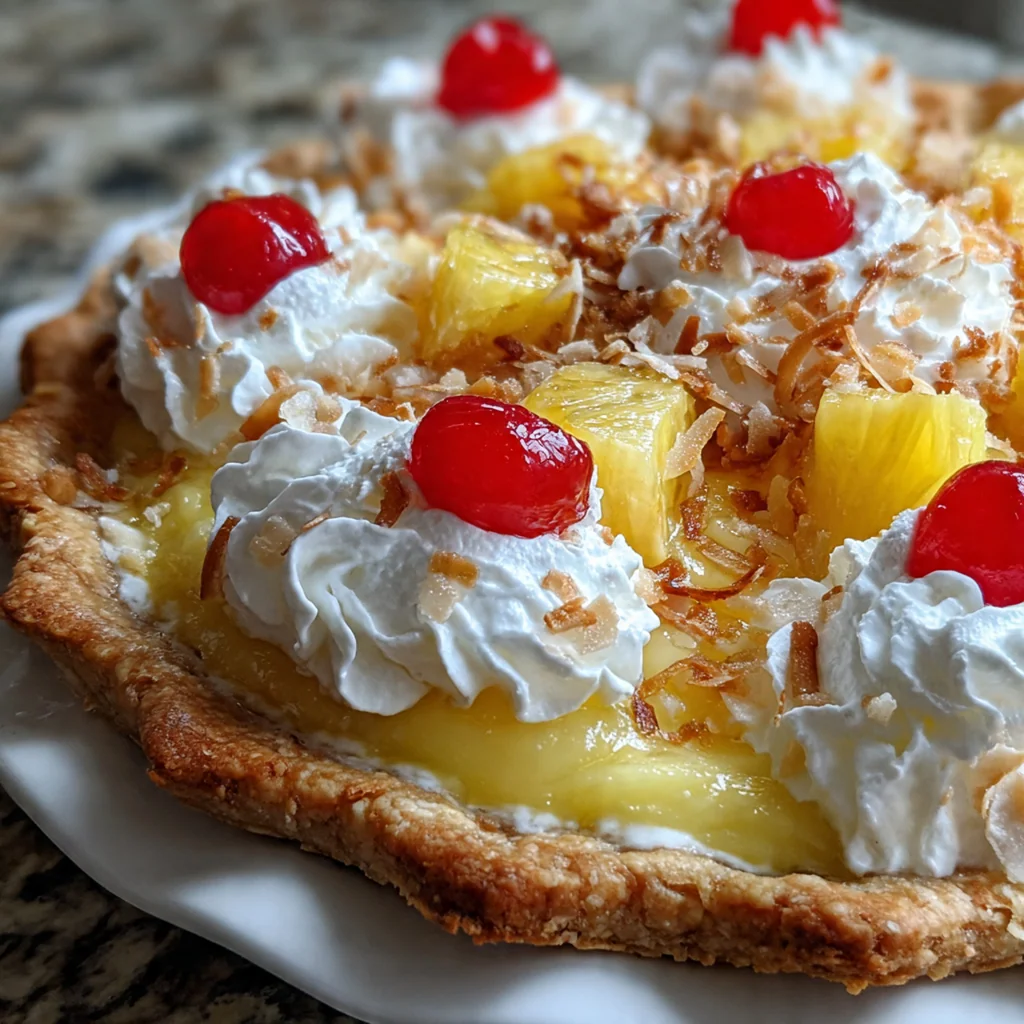
Fluffy Easter Pineapple Pie is the vintage no-bake dessert that brings instant nostalgia to your spring table. This dreamy treat combines a creamy, cloud-like filling with juicy pineapple inside a simple graham cracker crust. It’s pure comfort food that reminds me of family gatherings where the kitchen stayed cool despite the occasion. As an American classic, it’s the perfect make-ahead dessert for Easter celebrations when you want something sweet without turning on the oven.
Why You'll Love This Recipe
- Completely no-bake – perfect for warm spring days when you don’t want to heat up the kitchen
- Make-ahead friendly – actually tastes better after chilling overnight
- Ultra-creamy and fluffy texture that melts in your mouth
- Kid-friendly and always a crowd-pleaser at Easter gatherings
- Uses pantry staples and canned pineapple for easy year-round making
Ingredients You’ll Need
- Graham cracker crumbs: These create the sweet, crunchy foundation for your crust. Look for fresh, finely textured crumbs that smell like honey and cinnamon.
- Unsalted butter: Acts as the binder that holds your crust together. Using unsalted lets you control the sodium level perfectly.
- Granulated sugar: Adds just the right sweetness to balance the graham crackers. Standard white sugar works best here.
- Cream cheese: The heart of that dreamy, creamy filling. Always choose full-fat brick style cream cheese and soften it completely for a silky texture.
- Sweetened condensed milk: Provides rich sweetness and body to the filling. Check the can date for freshness as it really matters in no-bake desserts.
- Fresh lemon juice: The secret ingredient that helps set the filling while adding bright flavor. Never use bottled – fresh is essential for that zesty kick.
- Crushed pineapple: The star tropical flavor that makes this pie special. Choose canned in juice rather than syrup, and drain it extremely well.
- Frozen whipped topping: Creates that signature cloud-like fluffiness. Thaw it completely in the fridge overnight for best results.
- Toasted coconut flakes: Optional garnish that adds wonderful texture and nutty flavor. Toast your own for maximum freshness.
- Maraschino cherries: Optional garnish that adds festive red pop. Choose bright, firm cherries without blemishes.
- Fresh mint leaves: Optional garnish that adds color and fresh aroma. Always use fresh leaves, never dried, for garnish.
How to Make It
Prepare the Crust Base:
In a medium bowl, combine the graham cracker crumbs, melted butter, and granulated sugar. Mix thoroughly until the crumbs are evenly moistened and resemble wet sand throughout. This mixture should hold together when squeezed but still look sandy.
Press the Crust:
Firmly press the crumb mixture into the bottom and up the sides of your 9-inch pie plate. Use the bottom of a measuring cup to get a tight, compact, even crust that won’t crumble when sliced. Chill this while you make the filling to help it set.
Beat the Cream Cheese:
In a large mixing bowl, beat the softened cream cheese with an electric mixer on medium speed until completely smooth and free of lumps, about 1-2 minutes. Scrape down the sides of the bowl frequently. Softening the cream cheese is crucial for avoiding a lumpy filling.
Add the Condensed Milk:
Pour in the sweetened condensed milk and beat on low speed until fully combined and silky. Scrape down the sides of the bowl with a rubber spatula to make sure everything is incorporated evenly.
Incorporate the Lemon Juice:
Add the fresh lemon juice and mix on low speed just until the mixture thickens slightly. The acid from the lemon juice reacts with the dairy to help set the filling properly, so don’t skip it.
Fold in the Pineapple:
Gently fold in the well-drained crushed pineapple using a rubber spatula until it’s evenly distributed throughout the creamy mixture. Press the pineapple in a fine-mesh sieve or squeeze in a clean kitchen towel to remove excess juice that could make your pie runny.
Add the Whipped Topping:
Carefully fold in the thawed frozen whipped topping using a gentle over-and-under motion. Keep the filling light and fluffy by folding until no white streaks remain but you haven’t deflated the mixture.
Fill and Smooth:
Pour the filling into the prepared graham cracker crust and spread it evenly with the spatula. Smooth the top for a neat, professional appearance that looks beautiful when sliced.
Chill to Set:
Cover the pie with plastic wrap, making sure it doesn’t touch the surface of the filling. Refrigerate for at least 2 hours, though 4 hours or overnight is ideal for the pie to set properly and develop flavor.
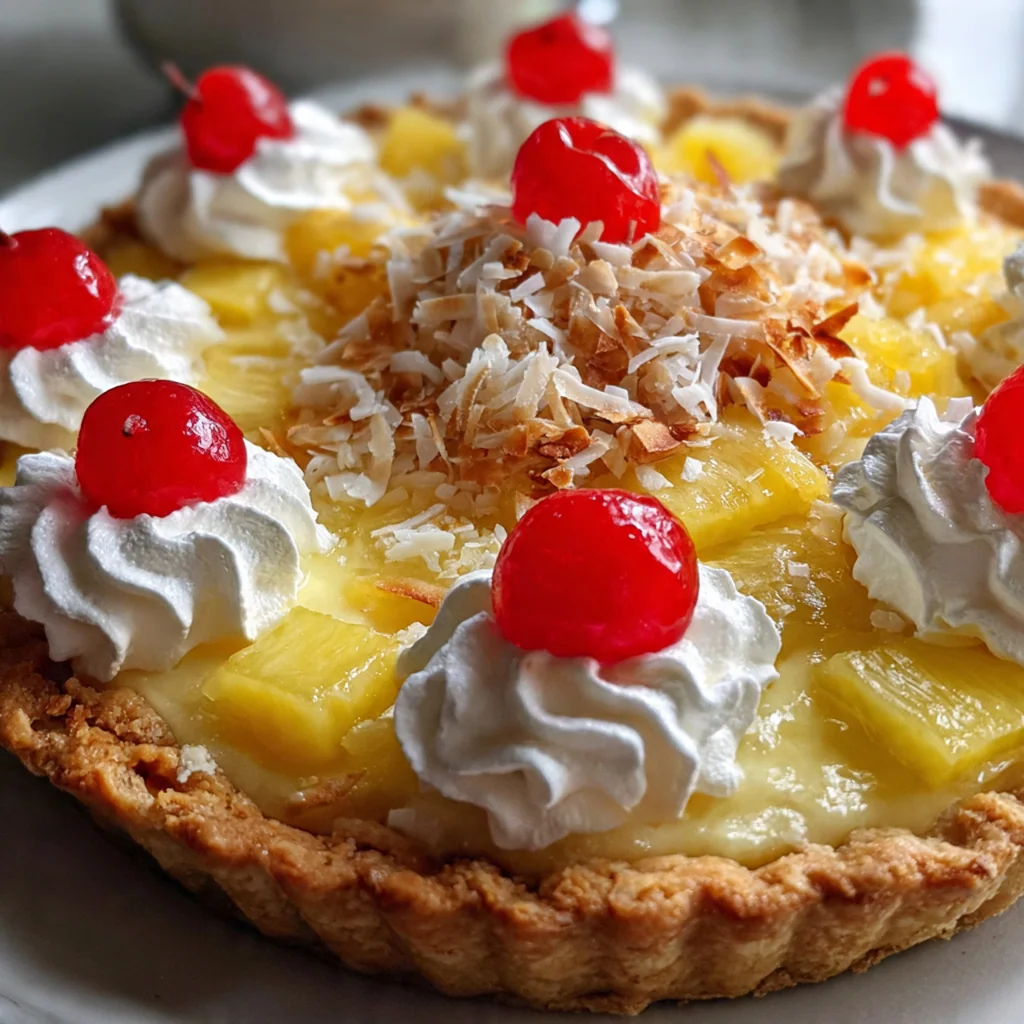
Garnish and Serve:
Just before serving, add your desired garnishes. Toasted coconut flakes add wonderful texture, while maraschino cherries or fresh mint provide a festive Easter touch that makes the pie look special.
You Must Know
- Drain the crushed pineapple very thoroughly – press it in a fine-mesh sieve or squeeze in a …
- For the fluffiest texture, fold in the whipped topping gently rather than beating it in
- Softening the cream cheese is crucial for a smooth filling; let it sit at room temperature f…
- Chill your pie plate beforehand to help the crust set faster
- Use the back of a spoon to press the crust into the pie plate for a tight, even pack that wo…
- I learned the hard way that rushing the draining step creates a soupy pie that never sets ri…
Storage Tips
Cover leftover pie tightly with plastic wrap and refrigerate for up to 4 days. The crust may soften slightly over time, but it will still be delicious. This pie does not freeze well as the texture of the whipped topping will change upon thawing. I recommend storing it on a flat shelf in the fridge so the top doesn’t get disturbed. If you’re making it ahead, wait to add the garnishes until right before serving so they stay fresh and vibrant.
Ingredient Substitutions
For a gluten-free version, swap the regular graham crackers for gluten-free graham crackers – the taste is virtually identical and the crust holds together just as well. If you need a dairy-free option, use vegan butter, dairy-free cream cheese, and coconut whipped cream instead of the traditional dairy products. You can use fresh pineapple if you prefer, just make sure to crush it and drain it extremely well to remove all the natural juices that could make the filling watery. For the whipped topping, you can use real whipped cream, but you’ll need about 3 cups and you should stabilize it with a bit of powdered sugar and gelatin since it won’t hold up as long as Cool Whip.
Serving Suggestions
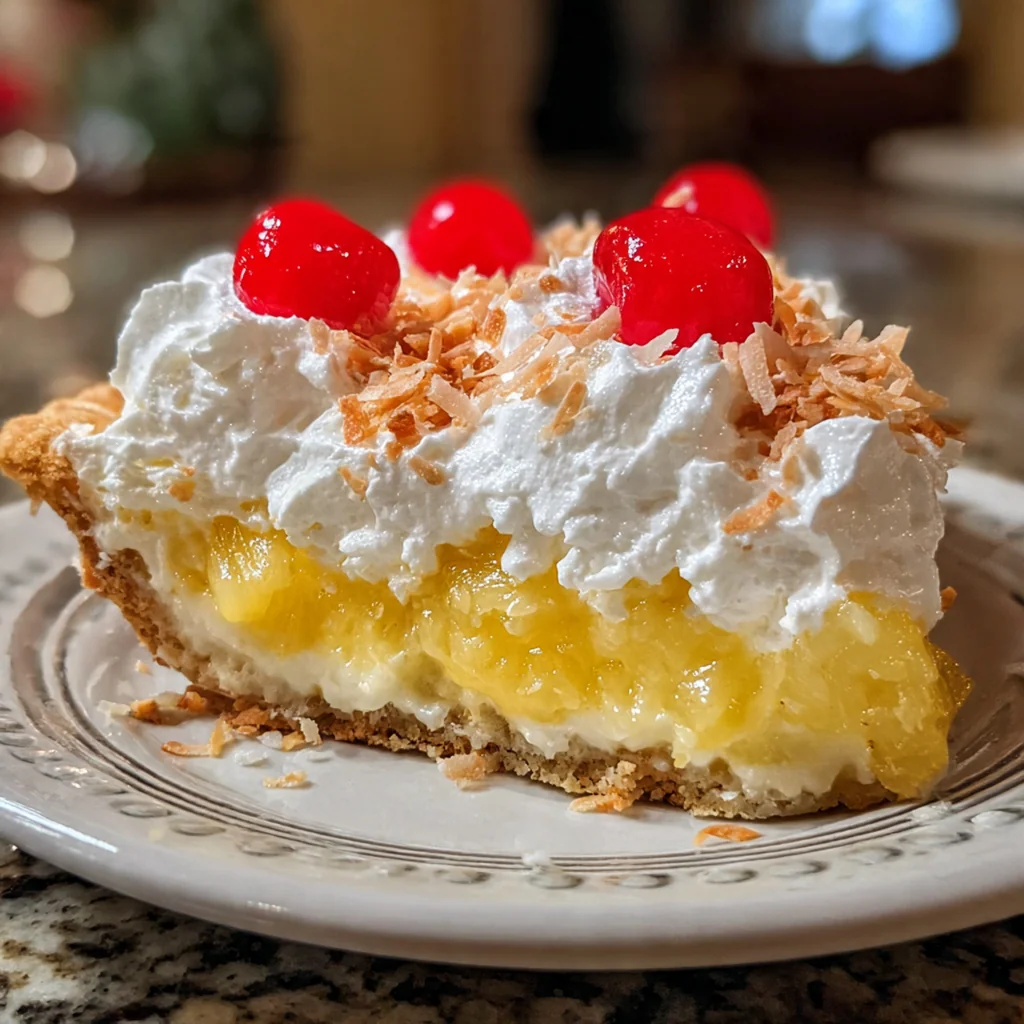
Serve your Fluffy Easter Pineapple Pie chilled, sliced into generous wedges. Pair it with fresh berries on the side or a scoop of vanilla ice cream for extra indulgence. This pie also makes a wonderful dessert alongside a spring ham dinner or after a light Easter lunch. I love serving it on a simple white plate to let the creamy filling shine, and sometimes I’ll add a drizzle of caramel sauce for extra flair. For a fun twist, try putting a scoop in a bowl with some fresh mango and extra toasted coconut.
Cultural Context
This vintage no-bake pie represents the heart of American home baking traditions, particularly from the mid-20th century when convenience ingredients like canned pineapple and frozen whipped topping revolutionized home dessert making. The combination of graham cracker crust with creamy filling speaks to our love of textural contrasts and make-ahead convenience. It’s the kind of dessert you’ll find at church potlucks, family reunions, and holiday celebrations across the Midwest and South. The use of pineapple nods to the post-war era when canned tropical fruits became status symbols on American tables, making this pie feel special and celebratory while still being accessible to everyday home bakers.
Pro Tips
- Make sure to spoon every drop of that glorious pan sauce over the salmon before serving – it…
- A microplane makes quick work of the lemon zest
- This dish is best enjoyed right away while the fish is warm and flaky
Frequently Asked Questions
To get that cloud-like texture for your Fluffy Easter Pineapple Pie, make sure your 8 oz package of cream cheese is completely softened to room temperature before mixing. This prevents lumps and allows it to blend seamlessly with the sweetened condensed milk and lemon juice, creating that signature dreamy consistency.
Yes, this Fluffy Easter Pineapple Pie is the perfect make-ahead dessert! In fact, it’s best if you prepare it at least 4-6 hours before serving, or even the night before. This gives the no-bake filling ample time to firm up in the refrigerator, making it easier to slice and serving.
While the graham cracker crust is classic for Fluffy Easter Pineapple Pie, you can easily substitute it. You can use crushed vanilla wafers or even a pre-made shortbread pie crust for a different flavor profile. Alternatively, a gluten-free graham cracker alternative works perfectly to maintain the traditional taste and texture.
No cooking is required for this pie, which is why it’s such a popular vintage dessert. The filling sets firmly in the refrigerator thanks to the combination of softened cream cheese and frozen whipped topping. Your only ‘work’ is the 20 minutes of mixing and assembling before it chills.
This American dessert is delicious on its own, but you can enhance it with a dollop of extra whipped topping, a sprinkle of toasted coconut, or a drizzle of caramel sauce. It pairs wonderfully with a cup of coffee or a glass of cold milk for a classic finish to your spring meal.