

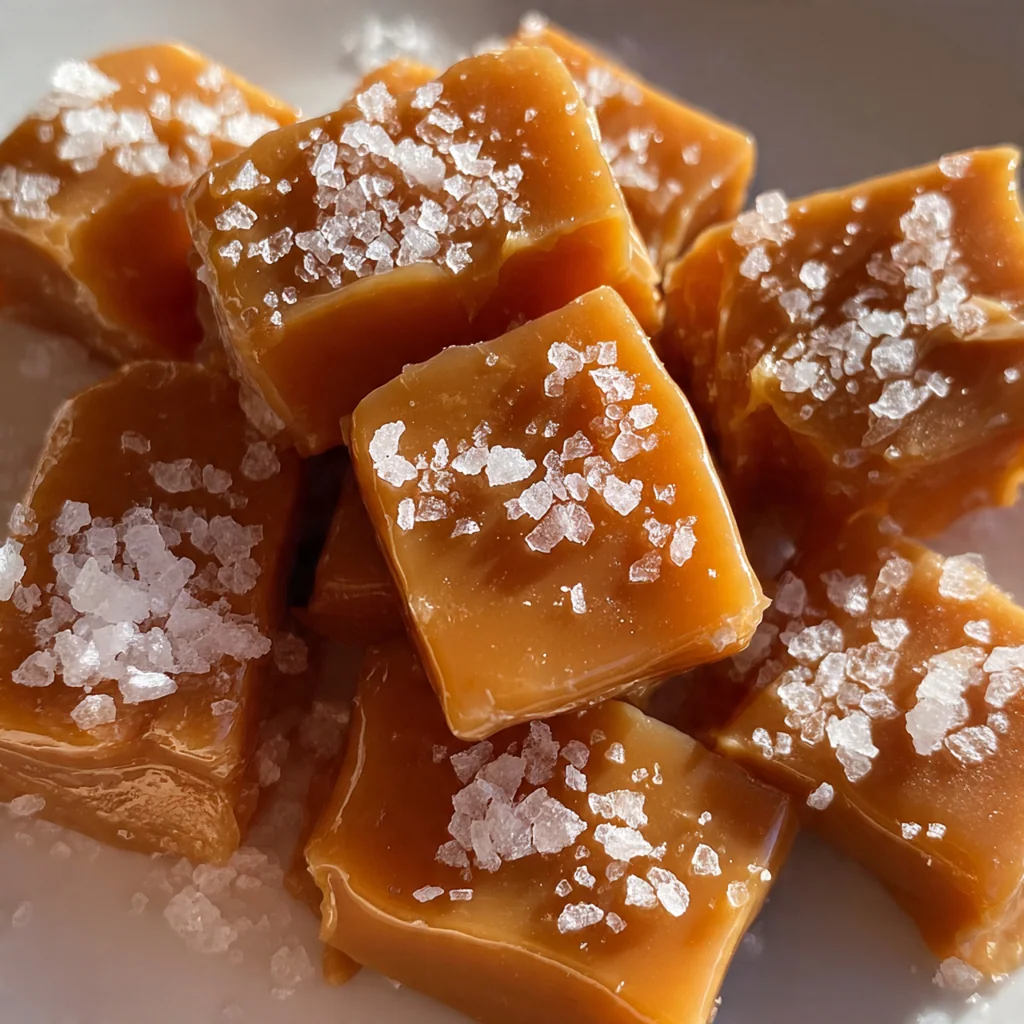
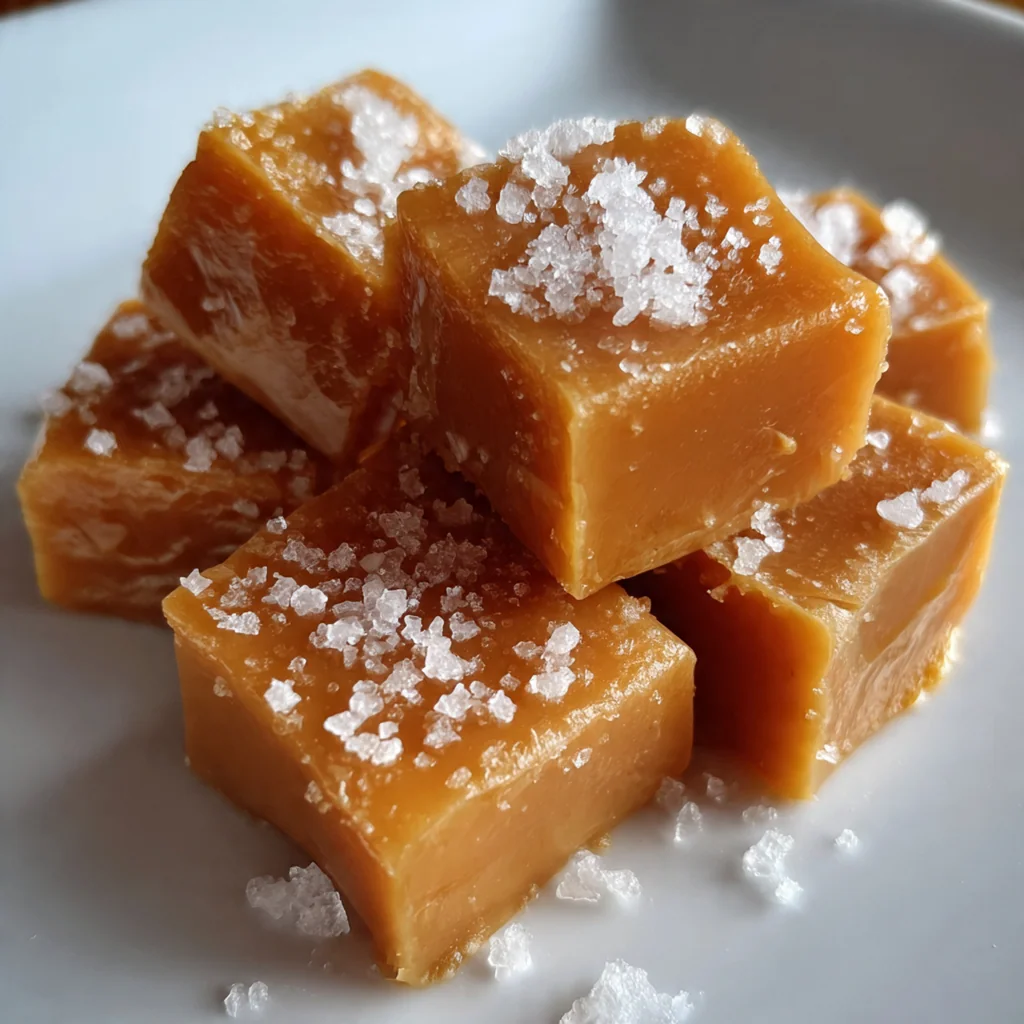
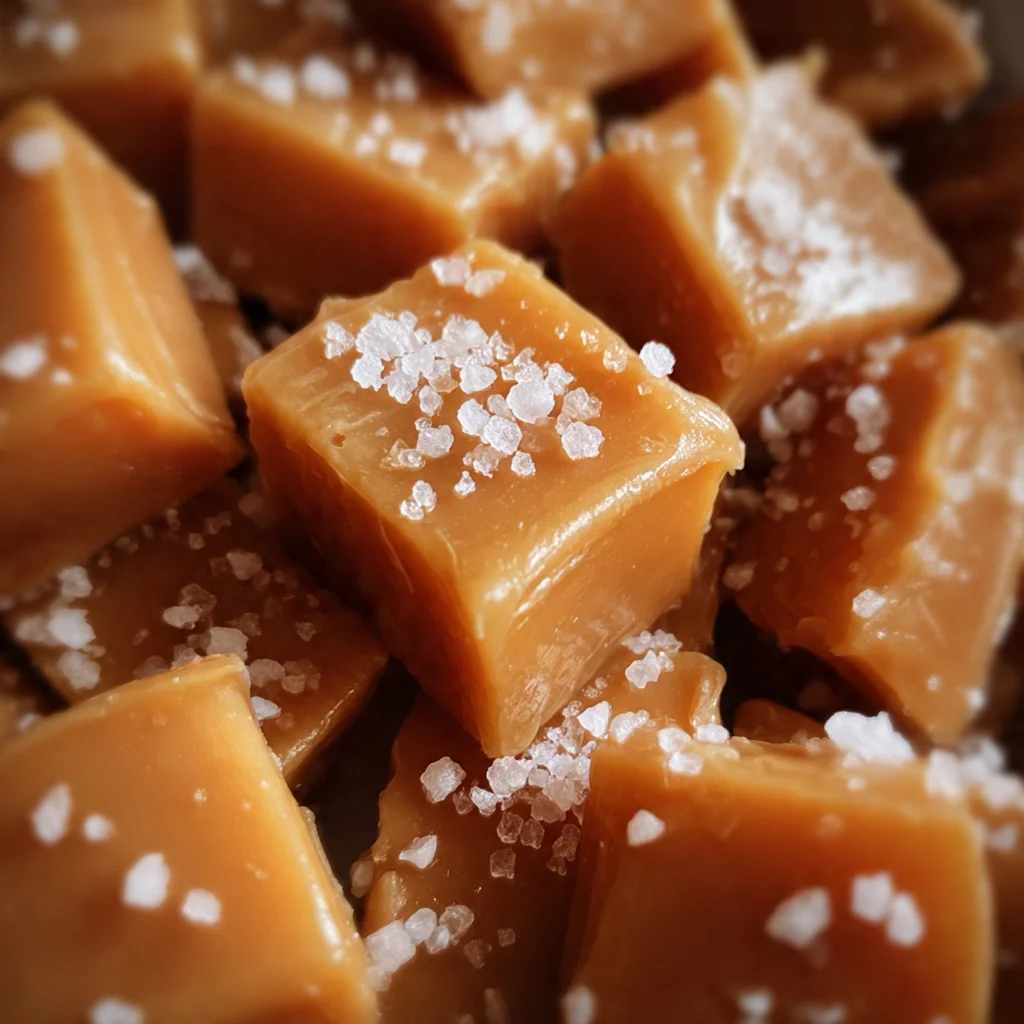
Making your own caramels at home is a rewarding journey into classic American candy making. These Classic Vanilla Sea Salt Caramels offer a rich, buttery flavor with a perfect chewy texture that simply can’t be found in store-bought versions. The process fills your kitchen with an incredible aroma, and the result is a nostalgic treat that balances sweet, salty, and deep vanilla notes. They’re wonderful for gifting or as a special indulgence, and once you try them, you’ll understand why homemade is always better.
Why You'll Love This Recipe
- The flavor is incredibly rich and buttery, way better than anything from a store
- You get that perfect chewy texture that’s neither too hard nor too soft
- They make the most thoughtful and appreciated homemade gift
- The whole process is a fun kitchen event that fills your home with amazing smells
- I love giving these as gifts during the holidays
Ingredients You’ll Need
- Butter for greasing: A light coating ensures the parchment paper releases easily and prevents the caramels from sticking, giving you clean edges when you cut them.
- Unsalted butter: This allows you to control the salt level perfectly, and it provides the rich, creamy base flavor that defines a great caramel.
- Granulated sugar: It caramelizes to create the deep, complex sweetness and golden color that is essential for the candy’s structure and taste.
- Light corn syrup: This prevents the sugar from crystallizing, ensuring your caramels stay smooth and chewy instead of turning gritty.
- Sweetened condensed milk: It adds a luxurious creaminess and milkiness that contributes to the soft, fudgy texture and rich flavor.
- Heavy cream: The high fat content gives the caramels their decadent mouthfeel and helps achieve that perfect, tender chew.
- Fine sea salt: Balances the sweetness and enhances all the other flavors; using fine salt ensures it dissolves evenly throughout the caramel.
- Vanilla bean or extract: A whole bean offers tiny, fragrant seeds for intense flavor, while pure extract provides a reliable and deep vanilla essence.
- Flaky sea salt: An optional sprinkle on top adds a delightful crunch and bursts of salinity that contrast beautifully with the sweet caramel.
How to Make It
Prepare the Pan:
Start by lining your 8×8-inch baking pan with parchment paper, making sure to leave an overhang on two opposite sides—this creates handy ‘handles’ to lift the set caramel out later. Lightly grease the parchment with butter; this simple step guarantees your caramels will release cleanly without any frustrating sticking.
Melt the Base Ingredients:
Grab a large, heavy-bottomed pot that holds at least four quarts. Combine the unsalted butter, granulated sugar, and light corn syrup in the pot. Cook over medium heat while stirring constantly with a wooden spoon until the butter is fully melted and the sugar has completely dissolved into a smooth syrup, which usually takes about five to seven minutes. You’ll know it’s ready when the mixture looks clear and uniform.
Attach Thermometer and Heat Cream:
Clip your candy thermometer to the side of the pot, ensuring the bulb is immersed in the mixture but not touching the bottom, as that can give a false reading. In a separate small saucepan or in the microwave, gently heat the heavy cream until it’s just beginning to simmer with small bubbles around the edges. Keep this warm cream nearby so it’s ready when you need it.
Incorporate the Dairy:
Once your butter-sugar mixture is smooth, it’s time to add the dairy. Very slowly and carefully pour in the sweetened condensed milk while stirring constantly—the mixture will bubble up vigorously, so go slow to avoid overflow. After it’s fully incorporated, gradually pour in the warm heavy cream, continuing to stir until the violent bubbling subsides and the mixture becomes homogenous again.
Cook to Temperature:
Now, maintain medium heat and cook the caramel, stirring frequently to prevent any scorching on the bottom of the pot. You’re aiming for 245°F on the candy thermometer, which is the firm-ball stage. This process requires patience, taking anywhere from 25 to 35 minutes. The caramel will gradually thicken and transform into a deep, gorgeous golden brown color.
Flavor and Pour:
The second the thermometer hits 245°F, immediately remove the pot from the heat. Quickly stir in the fine sea salt and the scraped seeds from your vanilla bean (or the vanilla extract). The salt balances the sweetness and the vanilla infuses that classic aroma. Pour the hot caramel into your prepared pan. If you’re using it, now is the time to sprinkle a light layer of flaky sea salt over the top for that signature crunch.
Cool and Set:
Let the pan of caramel sit undisturbed at room temperature to cool and set completely. This takes at least three to four hours; rushing it by refrigerating can cause condensation and make the caramels weep or become sticky. You’ll know they’re ready when the slab is firm to the touch and doesn’t indent when pressed.
Cut and Wrap:
Use the parchment paper overhang to lift the entire slab of caramel out of the pan and onto a cutting board. Take a sharp chef’s knife and lightly butter the blade to prevent sticking. Cut the slab into one-inch squares, wiping or heating the knife between cuts for clean edges. Finally, wrap each little square in a small piece of wax paper or parchment paper—they’re now ready to share or savor.
You Must Know
- A heavy-bottomed pot is non-negotiable for even heat and no burning
- Stir constantly once the temperature climbs above 230°F
- Never leave the pot unattended during the final cooking stage
- For clean cuts, briefly heat your knife between slices
- I always use a vanilla bean for the most incredible flavor
Storage Tips
Store your individually wrapped caramels in an airtight container at cool room temperature, and they’ll stay perfect for up to three weeks. If you want to keep them longer, you can freeze them for up to three months—just thaw them at room temperature before enjoying. I find that stacking them in layers with a piece of parchment between prevents them from sticking together. Avoid refrigerating them, as the humidity can cause the caramels to sweat and lose their ideal texture.
Ingredient Substitutions
If you don’t have a vanilla bean, two teaspoons of high-quality pure vanilla extract will work beautifully, though the bean seeds give a more intense flavor. For a dairy-free version, swap the unsalted butter and heavy cream for high-quality plant-based alternatives, and use sweetened condensed coconut milk instead of the regular can. You can also experiment with different salts—Maldon flaky salt is my favorite for topping, but any coarse salt will add that nice crunch. Just ensure any substitutions are heat-stable for candy making.
Serving Suggestions
These caramels are fantastic served in a pretty candy dish at your next gathering, where guests can help themselves. They also make incredibly thoughtful gifts when packaged in decorative tins or small boxes tied with ribbon. For a cozy treat, enjoy one or two alongside a cup of strong black coffee or a glass of dessert wine like port or sherry—the bitterness or acidity cuts through the sweetness perfectly. I love setting out a plate with after-dinner coffee when friends come over.
Cultural Context
Homemade caramels hold a special place in American culinary tradition, often evoking memories of county fairs, holiday gift boxes, and old-fashioned candy shops. The process of boiling sugar and dairy to create these chewy treats dates back centuries, but it was in the United States where caramels became a staple confection, especially with the advent of condensed milk in the 19th century. The addition of sea salt is a more modern twist, reflecting the contemporary love for sweet-and-salty combinations. Making caramels at home connects you to that history of from-scratch baking and the simple joy of creating something delicious with your own hands.
Pro Tips
- Use a heavy-bottomed pot to prevent scorching and ensure even cooking
- Stir constantly, especially as the temperature climbs above 230°F
- Never leave the pot unattended—the temperature can spike quickly
- A hot, buttered knife gives you the cleanest cuts every time
- I swear by using a real vanilla bean for the deepest flavor
Frequently Asked Questions
While a candy thermometer is highly recommended for accuracy, you can use the cold water test. Drop a small bit of caramel into ice water; if it forms a firm but pliable ball that holds its shape, it’s ready (the firm-ball stage, 248°F).
Absolutely! These caramels are perfect for making ahead. Once cooled and cut, store them in an airtight container, layered between parchment or wax paper, at room temperature for up to 2 weeks or in the fridge for a firmer texture.
You can easily substitute 2 teaspoons of pure vanilla extract for the vanilla bean. Add the extract at the very end, right after you remove the caramel from the heat, to preserve its flavor.
The caramel is ready when it reaches 248°F (120°C) on a candy thermometer. This is the ‘firm-ball’ stage. The mixture will be a deep golden brown and will pull away from the sides of the pan slightly when stirred.
These classic American caramels are a wonderful standalone treat. For serving, pair them with coffee, drizzle them over ice cream, or wrap them individually in wax paper for a perfect homemade gift or party favor.