

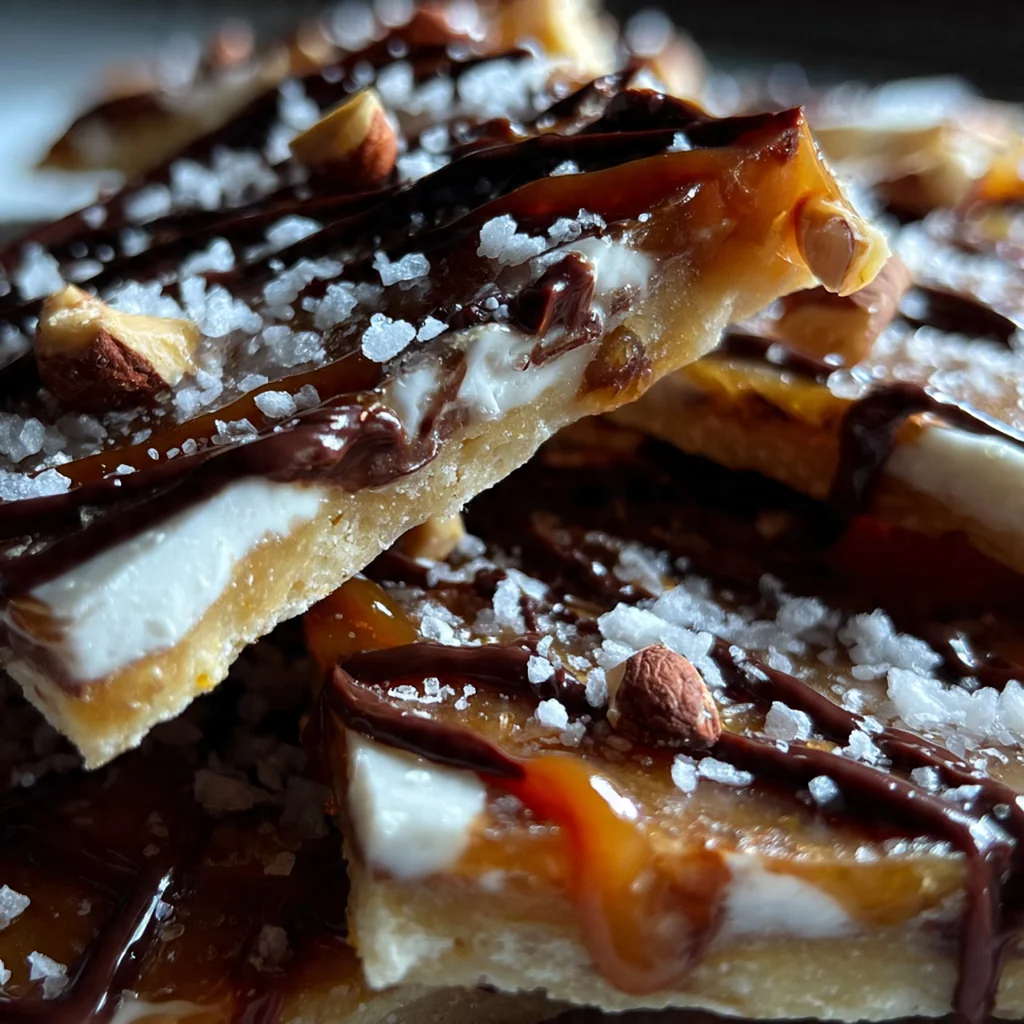
Nothing beats the classic joy of making your own Melt in Your Mouth Toffee at home. This beloved American confection transforms simple pantry staples into an irresistible treat with a signature crisp texture that literally dissolves on your tongue. My grandmother’s version was always the highlight of our holiday tins, and this recipe captures that same magic. It’s a foolproof process that rewards you with buttery, chocolate-drenched pieces perfect for sharing.
Why You'll Love This Recipe
- The texture is pure magic — a crisp snap that dissolves into silky butter
- You can customize it endlessly with your favorite nuts or chocolate
- It feels incredibly special yet uses simple ingredients you likely already have
- Makes the most impressive homemade gift for any occasion
- Trust me, you’ll never buy store-bought toffee again
Ingredients You’ll Need
- Unsalted butter: this is the star for that rich, melt-in-your-mouth flavor using a high-quality butter like European style will give you an even deeper taste
- Granulated sugar: provides the structure and classic sweetness for your toffee crisp white sugar caramelizes perfectly for that golden color
- Water: helps dissolve the sugar evenly at the start preventing premature crystallization before the boiling stage
- Light corn syrup: acts as an interfering agent to keep the sugar crystals from forming too large giving you that smooth, glass-like texture
- Salt: a small amount balances all that sweetness and enhances the buttery flavor you can use fine sea salt or table salt
- Pure vanilla extract: adds a warm, aromatic finish to the toffee base always use real extract for the best flavor
- Semisweet chocolate: creates that luxurious top layer which pairs perfectly with the sweet toffee chopped baking chocolate melts smoother than chips
- Chopped toasted almonds or pecans: add crunch and a nutty contrast that makes the whole bite more interesting toasting them first is non-negotiable for flavor
- Sea salt flakes: an optional but brilliant finish that creates little bursts of salty contrast against the sweet chocolate just a light sprinkle does it
How to Make It
Line Your Baking Sheet:
Start by lining a rimmed baking sheet with parchment paper or a silicone baking mat. This prevents the sticky toffee from adhering and makes cleanup a breeze. Have it ready right next to your stove because you’ll need to work fast later.
Melt and Combine Ingredients:
Place your heavy-bottomed saucepan over medium heat and add the butter, sugar, water, corn syrup, and salt. Stir constantly with a heatproof spatula until the butter fully melts and the mixture comes to a full, rolling boil. You’ll see the entire surface bubbling actively.
Cook to Hard Crack Stage:
Once boiling, clip your candy thermometer to the side of the pan, making sure the tip isn’t touching the bottom. Reduce the heat to medium-low and cook, stirring only occasionally now, until it reaches exactly 300°F. This is the hard crack stage and takes about 15 to 20 minutes.
Stir in Vanilla and Pour:
Immediately remove the pan from the heat and carefully stir in the vanilla extract—it will bubble up a bit. Then quickly pour the hot toffee onto your prepared baking sheet. Use your spatula to spread it into a thin, even layer about a quarter-inch thick.
Melt and Spread the Chocolate:
Let the toffee slab cool for just a minute or two, then evenly sprinkle all the chopped chocolate over the top. The residual heat will melt the chocolate perfectly. After another minute or two, use a clean spatula to spread the melted chocolate into a smooth, even layer across the entire surface.
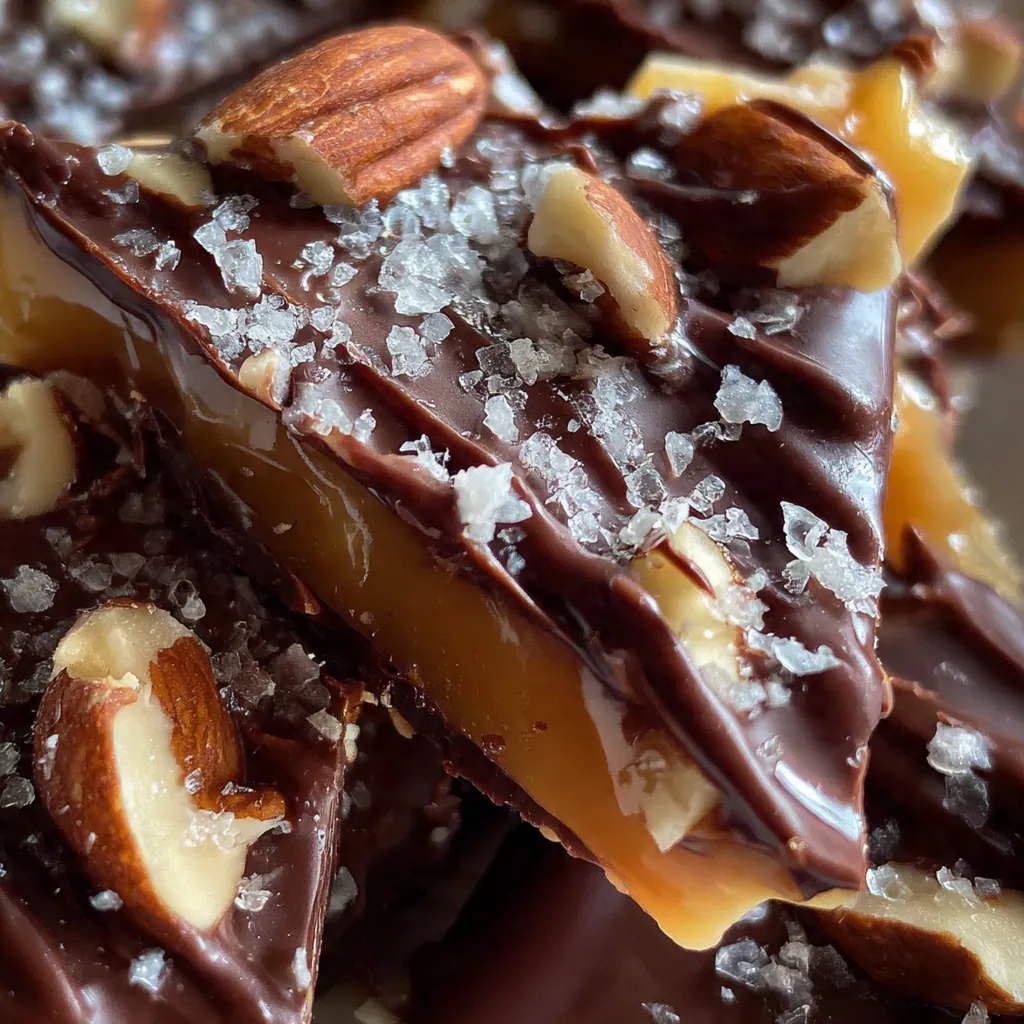
Add Nuts and Cool Completely:
Immediately sprinkle your toasted nuts over the soft chocolate, gently pressing them in so they adhere. If you’re using them, add a light scattering of flaky sea salt now. Then let the whole pan cool completely at room temperature or in the fridge until the chocolate is fully set and hard.
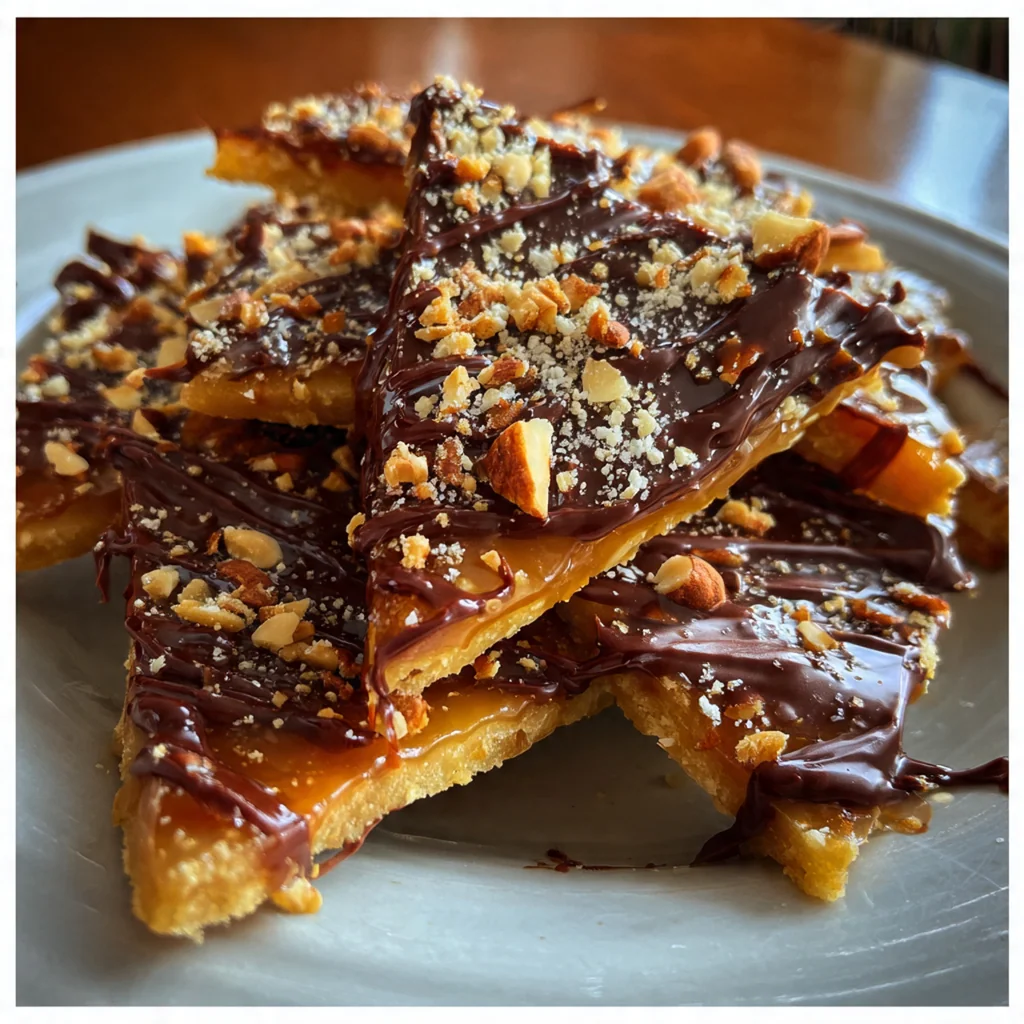
Break into Pieces:
Once the toffee slab is completely cool and firm, lift it off the parchment paper. You can break it into rustic, irregular pieces by hand, which gives a lovely homemade look, or use a knife to score and snap it into neater squares. It’s ready to enjoy.
You Must Know
- A candy thermometer is absolutely non-negotiable for success
- Toast your nuts beforehand for a huge flavor upgrade
- The toffee sets incredibly fast once poured
- It’s easier than you think but demands your full attention
- My family fights over the pieces with extra sea salt
Storage Tips
Store your finished melt in your mouth toffee in an airtight container at room temperature, separating layers with parchment paper if you stack them. It’ll stay crisp and perfect for up to two weeks, though it never lasts that long in my house. For longer storage, you can keep it in the fridge for up to three weeks, just let pieces come to room temp for the best texture, or freeze it for up to three months in a freezer bag. The chocolate might develop a slight bloom if frozen, but it’ll still taste fantastic.
Ingredient Substitutions
If you don’t have light corn syrup, you can use golden syrup or even a tablespoon of honey, though the flavor will change slightly. For the nuts, toasted hazelnuts or walnuts make great swaps, or you can leave them out entirely for a nut-free version. Milk or dark chocolate work beautifully in place of semisweet, just avoid chocolate chips as they have stabilizers that prevent smooth melting. In a pinch, a quarter teaspoon of almond extract can stand in for the vanilla, but use a light hand as it’s more potent.
Serving Suggestions
I love serving this toffee on a dessert board alongside shortbread cookies, dried fruit, and maybe some cheese for a sweet and salty spread. It’s fantastic crumbled over vanilla ice cream for an instant sundae, or simply packaged in clear bags with ribbon for heartfelt gifts. With a cup of strong coffee or black tea, it makes the perfect afternoon treat that feels far more luxurious than the effort required.
Cultural Context
Butter toffee with a chocolate coating is a deeply rooted American homemade candy, often associated with holiday traditions and county fairs. Its origins lie in the simple sugar candies of early settlers, perfected over time with the addition of affordable dairy and the rise of chocolate as a household ingredient. This particular version, known for its ‘melt in your mouth’ quality, speaks to a mid-20th century ideal of homemaking where impressive confections were a point of pride. It’s less about ceremony and more about the generous, shareable joy of creating something special from the basics in your pantry.
Pro Tips
- Use the heaviest pot you own to prevent hot spots and burning
- Don’t stir too much once it’s boiling to avoid graininess
- Have all your toppings measured and ready before you start cooking
- The toffee color is your visual clue alongside the thermometer
- I always make a double batch because one is never enough
Frequently Asked Questions
For the best flavor and texture, use a high-quality semisweet chocolate bar that you chop yourself. It melts more evenly than chips, which contain stabilizers. The rich, slightly bitter notes of semisweet chocolate perfectly balance the sweet, buttery toffee base.
Absolutely! In fact, making it ahead is ideal. Once fully set and broken into pieces, store the toffee in an airtight container at room temperature. It will stay crisp and delicious for up to two weeks, making it perfect for holiday gifting or prepping for parties.
If you don’t have light corn syrup, you can use golden syrup or honey as a 1:1 substitute. Both will work, though honey will impart a slight floral flavor. The syrup is crucial for preventing sugar crystallization, ensuring your toffee is smooth and not grainy.
The toffee is ready when it reaches 300°F (150°C) on a candy thermometer, known as the ‘hard crack’ stage. Without a thermometer, test a small spoonful in ice water; it should harden immediately and crack when bent. The mixture will also be a deep golden amber color.
This rich, buttery candy pairs wonderfully with a cup of black coffee, espresso, or a glass of cold milk to cut the sweetness. For a dessert platter, serve it alongside other American classics like shortbread cookies, fudge, or vanilla ice cream.