


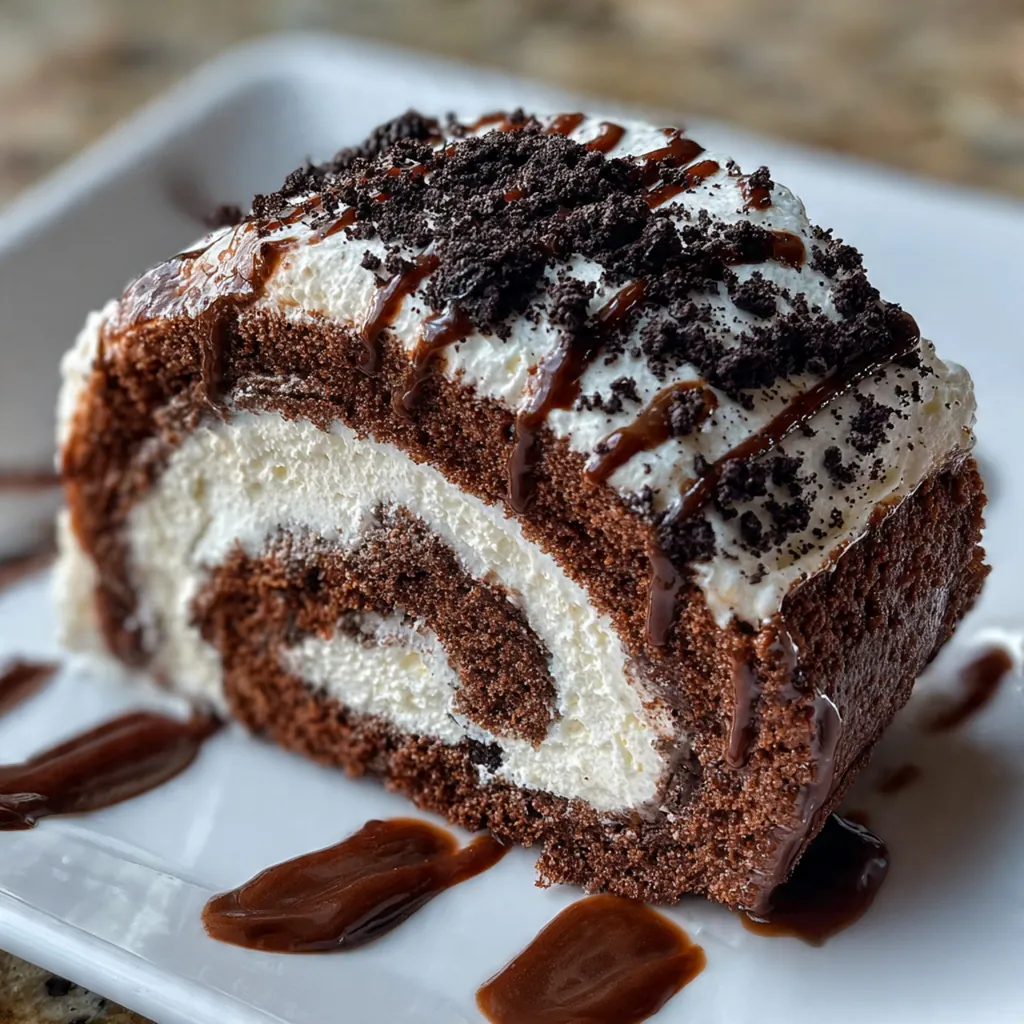
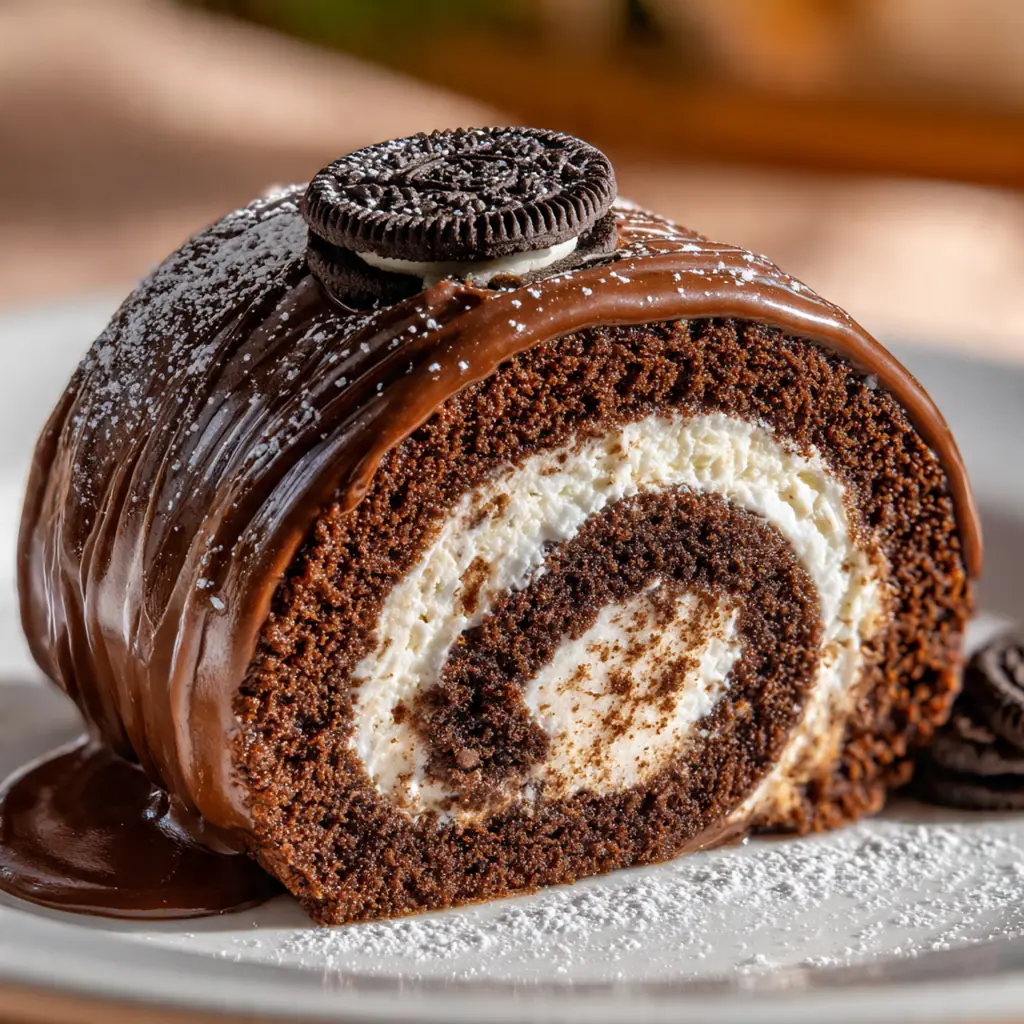
Your search for a stunning, crowd-pleasing dessert ends with this Oreo Cream Chocolate Roll, a perfect fusion of light chocolate cake and fluffy cookie-studded cream. Inspired by the classic American jelly roll, this version takes a beloved childhood cookie and turns it into an elegant, shareable centerpiece. It’s the kind of bake that looks like you spent all day in the kitchen, yet it’s surprisingly approachable with a few key tricks. The magic lies in the contrast between the airy cocoa sponge and the cool, textured filling—it’s a combination that never fails to impress.
Why You'll Love This Recipe
- You get two iconic treats in one irresistible dessert package
- It’s a make-ahead dream that chills while you handle everything else
- The fluffy cake and creamy filling create the most satisfying contrast
- It looks impressively professional but is totally approachable to make
- This recipe has been my go-to for birthdays and potlucks for years
Ingredients You’ll Need
- Large eggs at room temperature: they whip up to incredible volume for that signature airy sponge texture, so don’t skip bringing them to room temp first.
- Granulated sugar: not only sweetens the cake but also helps stabilize the whipped eggs, creating those beautiful ribbons when you lift the beaters.
- All-purpose flour: provides the essential structure for your roll, and sifting it with the cocoa prevents any lumps in your delicate batter.
- Unsweetened cocoa powder: use the natural kind for a deep, rich chocolate flavor that isn’t overly sweet, which balances the filling perfectly.
- Baking powder: gives the thin cake layer its gentle lift, ensuring it stays soft and pliable enough to roll without cracking.
- Salt: a tiny pinch enhances all the other flavors, making the chocolate taste richer and the sweet cream more balanced.
- Milk: adds necessary moisture to the batter for a tender crumb, and whole milk works best for its richness.
- Vanilla extract: use pure extract for the best flavor in both the cake and the filling, it adds a warm, aromatic note.
- Powdered sugar for dusting: its fine texture coats the towel to prevent sticking and gives the finished roll a pretty, bakery-style finish.
- Heavy whipping cream, cold: the high fat content is non-negotiable for a stable, pipeable filling that won’t weep or deflate.
- Powdered sugar for filling: dissolves instantly into the cold cream, sweetening it smoothly without any grittiness.
- Vanilla extract for filling: a second dose reinforces that classic, comforting vanilla flavor that pairs so well with Oreos.
- Oreo cookies: the star of the show, crushed into pieces that provide delightful texture and that iconic cookies-and-cream flavor in every bite.
How to Make It
Preheat and Prep Your Pan:
Start by heating your oven to 350°F and lining your jelly roll pan with parchment paper, then give it a light grease. This setup is your insurance policy for a clean release later, as the thin cake can sometimes stick. Taking a minute here saves a lot of potential frustration.
You Must Know
- Room temperature eggs are non-negotiable for maximum volume
- Roll the warm cake with the towel to train its shape
- Chill your bowl and beaters before whipping the cream
- A serrated knife dipped in hot water gives the cleanest slices
- A little crack won’t ruin it—the filling is a great cover-up
Storage Tips
Store your Oreo cream chocolate roll tightly wrapped in plastic wrap in the refrigerator, where it’ll stay fresh and delicious for up to three days. For longer storage, you can freeze the whole roll or individual slices; just wrap them first in plastic and then in a layer of foil to prevent freezer burn for up to a month. Thaw it overnight in the fridge before you plan to serve, and I find it slices even cleaner when it’s still a little bit firm from the chill.
Ingredient Substitutions
If you’re out of regular Oreos, try using mint or peanut butter Oreos for a fun flavor twist, just keep the quantity the same. For a non-dairy version, use a high-fat coconut cream that’s been chilled overnight and a plant-based milk, though the texture of the cake might be slightly denser. In a pinch, you can use Dutch-process cocoa, but know it might make the cake’s color a bit darker and its flavor a tad milder, so it’s not a one-to-one swap for natural cocoa in all recipes.
Serving Suggestions
I love serving thick slices of this roll chilled with a scoop of vanilla bean ice cream on the side—the cold creaminess is just perfect. A drizzle of warm chocolate ganache or a simple dusting of powdered sugar and extra cookie crumbs makes it look extra special. For a brunch or lighter finish, pair it with a cup of strong black coffee or a handful of fresh strawberries to cut through the sweetness.
Cultural Context
The chocolate roll, or jelly roll, is a classic American bake that became a staple in mid-century cookbooks, prized for its impressive look and economical use of ingredients. It takes the simple concept of a Swiss roll—a thin sponge cake spread with filling and rolled—and injects it with pure, playful American nostalgia through the addition of Oreos, a cookie invented in 1912. This recipe sits right at that wonderful intersection of homemade comfort food and celebratory party dessert, perfect for everything from a family dinner to a holiday potluck.
Pro Tips
- Beat the eggs and sugar until truly thick and pale—this is your cake’s leavening
- Invert the cake onto the sugared towel the second it leaves the oven
- Fold the crushed Oreos into the cream gently to keep it fluffy
- Let it chill for the full two hours so the filling sets and the flavors meld
- My trick is to use the towel as a guide but not roll it into the cake
Frequently Asked Questions
Standard Oreo cookies (the original flavor) work best for this recipe. They provide the classic chocolate and cream flavor. You can use Double Stuf for an extra creamy filling, but the recipe is designed for regular Oreos. Avoid flavored Oreos if you want the traditional taste.
Yes, you can assemble the roll up to one day ahead. Store it covered in the refrigerator. For best results, add the final dusting of powdered sugar just before serving to prevent it from absorbing into the cream.
For the filling, heavy whipping cream is essential for achieving stiff peaks. However, if you need a substitute, you can use full-fat coconut cream (chilled) for a dairy-free version. Note that this will impart a coconut flavor.
The chocolate sponge is done when it springs back lightly when touched and the edges pull away from the pan. This usually takes about 12-15 minutes in a preheated oven at 350°F (175°C).
This dessert is rich and delicious on its own. For a special touch, serve with a drizzle of chocolate sauce, a dollop of whipped cream, or a scoop of vanilla ice cream. It pairs perfectly with a glass of cold milk or coffee.